The store export on Settings › Import and Export gives you everything as one ZIP. Often you need less: a price list for a wholesaler with only SKU, name and price, the orders of last month one row per item for your accountant, or the customers with one tag for a campaign. Export With Your Own Columns makes that file: one kind of record, the fields you choose in the order you want, each with the header you write, only the records your filters keep, as CSV or Excel.
Each kind needs its export right, as for the store export; customers' contact details need the right to export customers. Mercayo's team can pause exports with your own columns for a store ("Mercayo has paused exports with your own columns for this store.").
Build the Export
Step 1 of 7
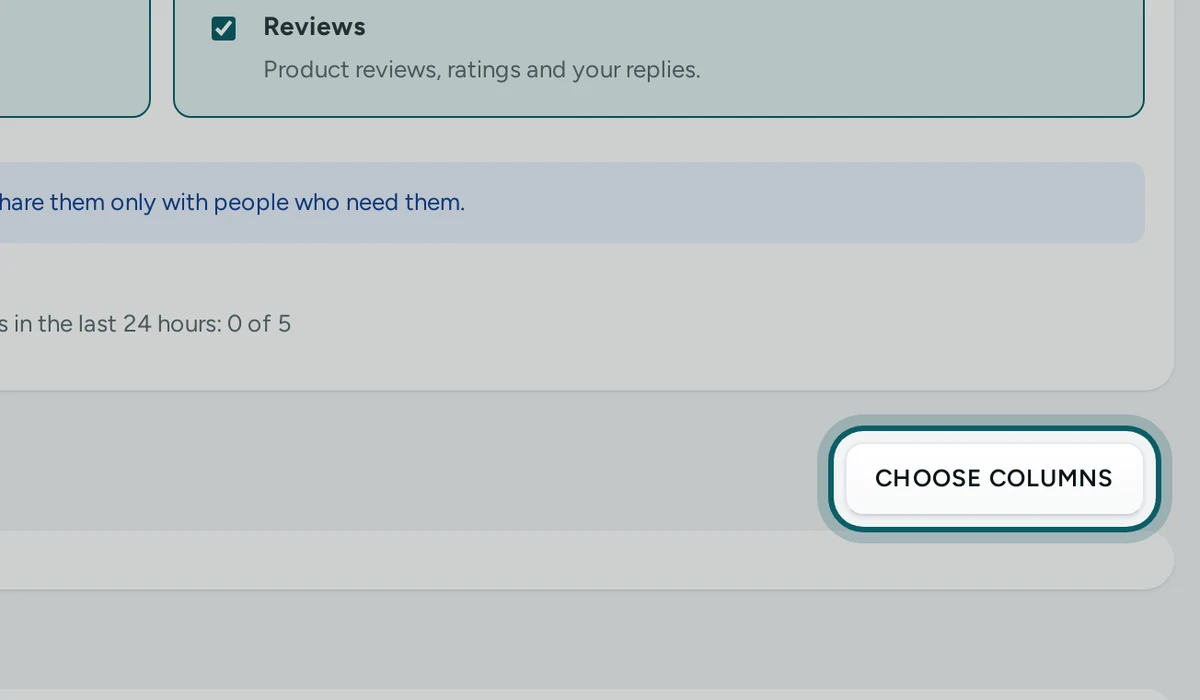
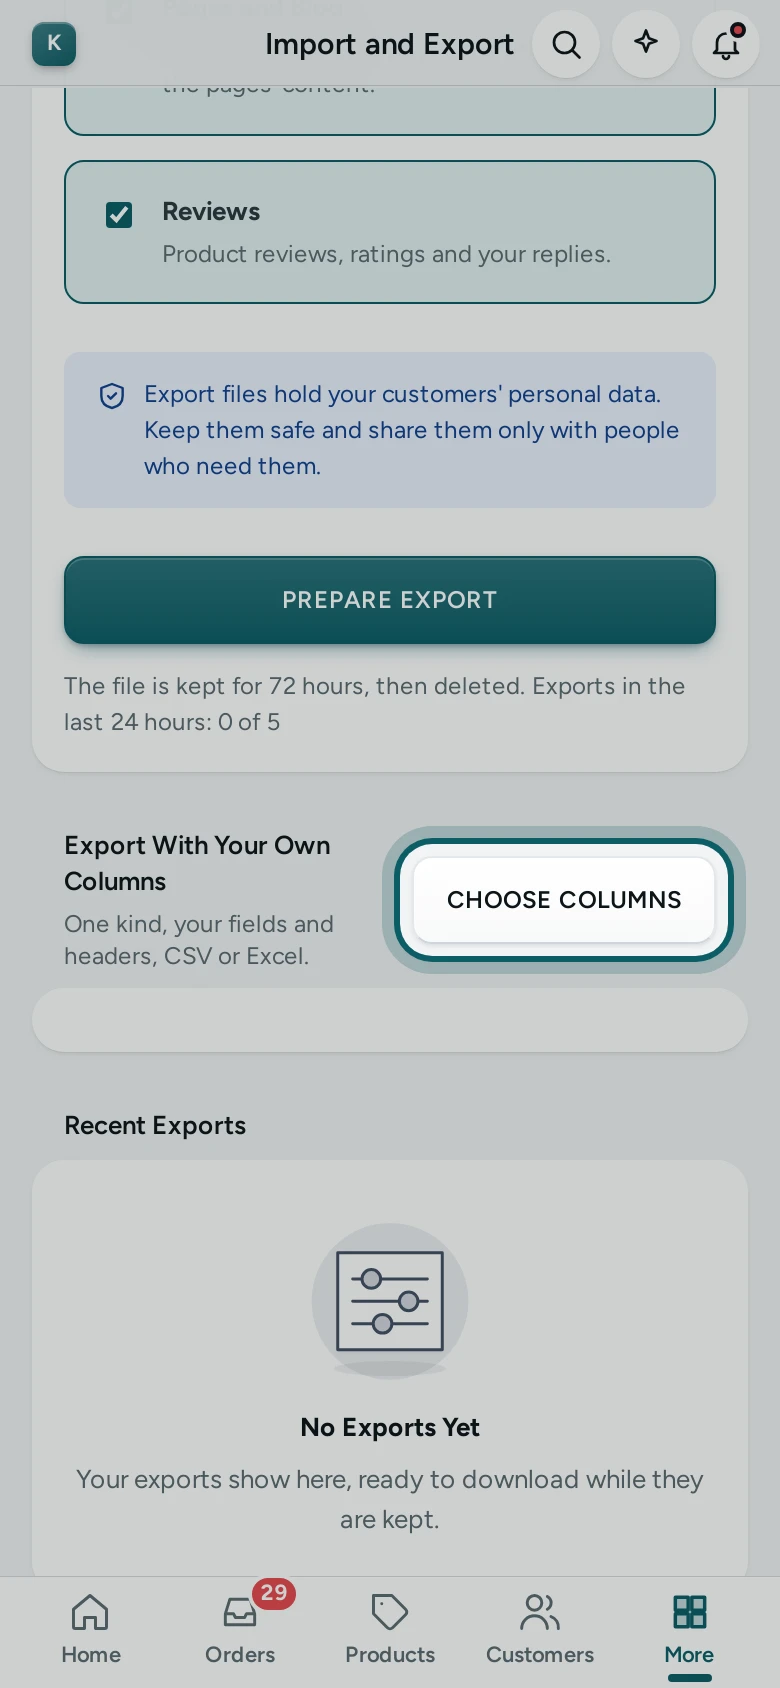
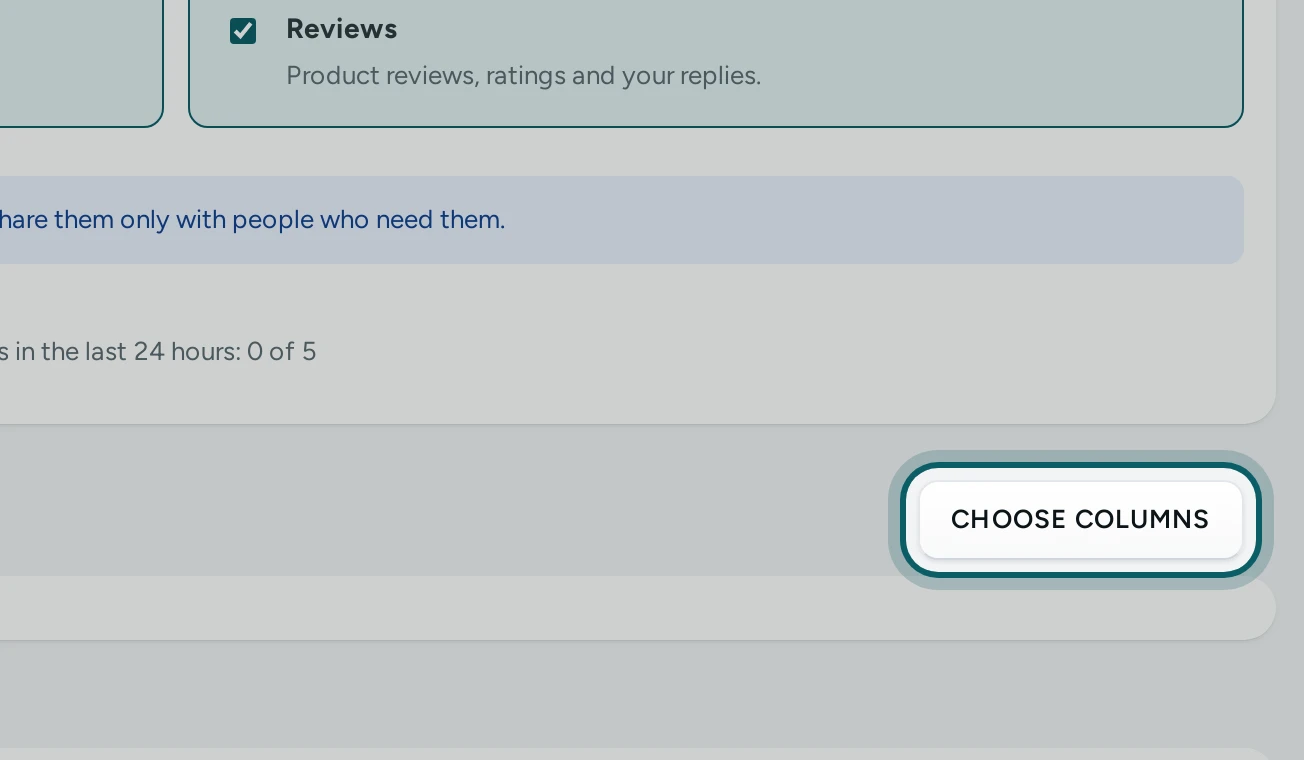
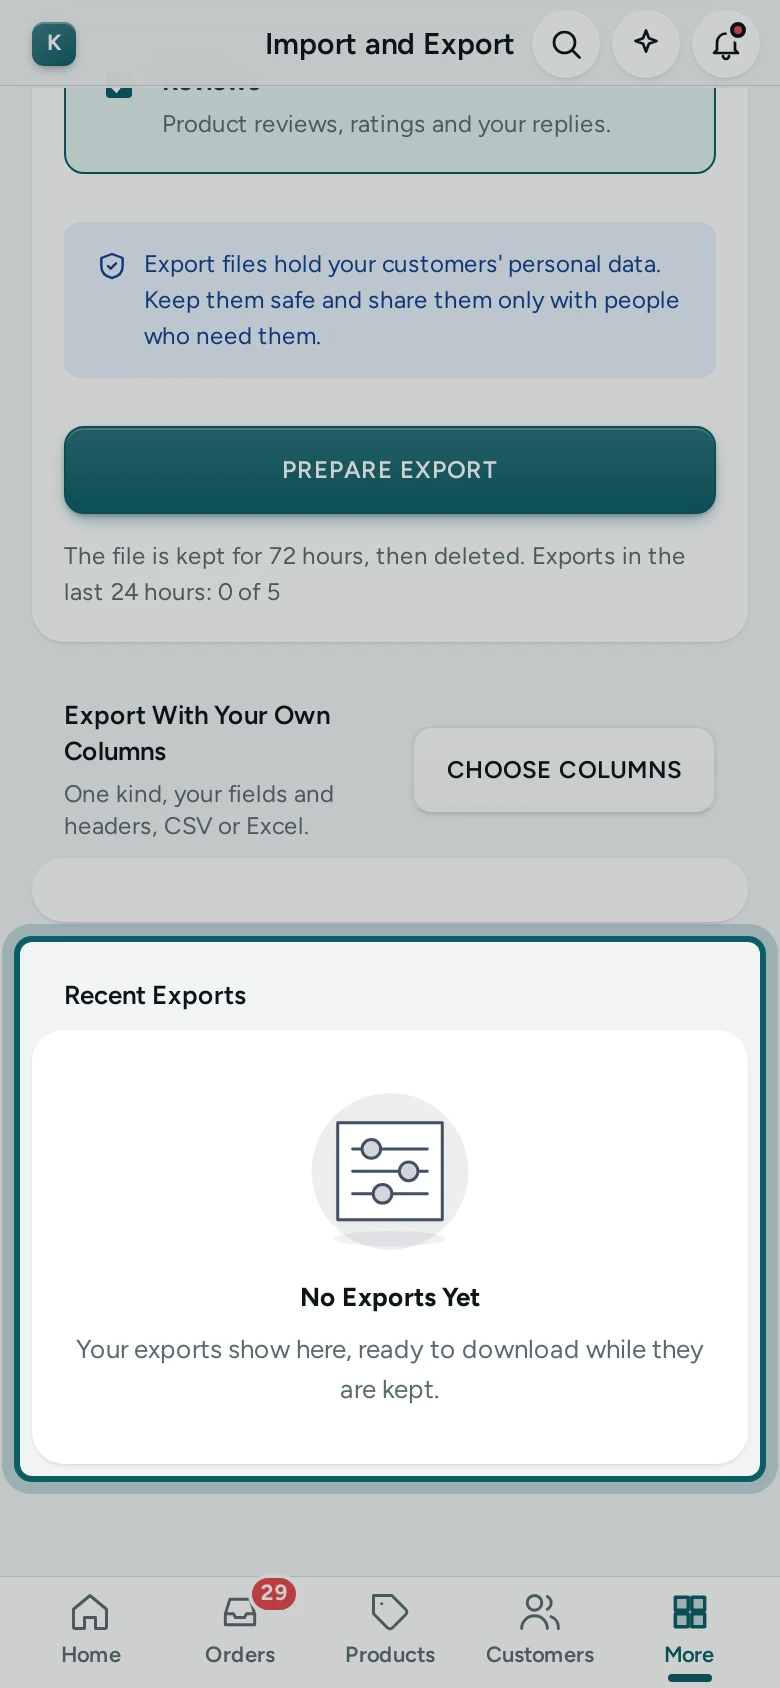
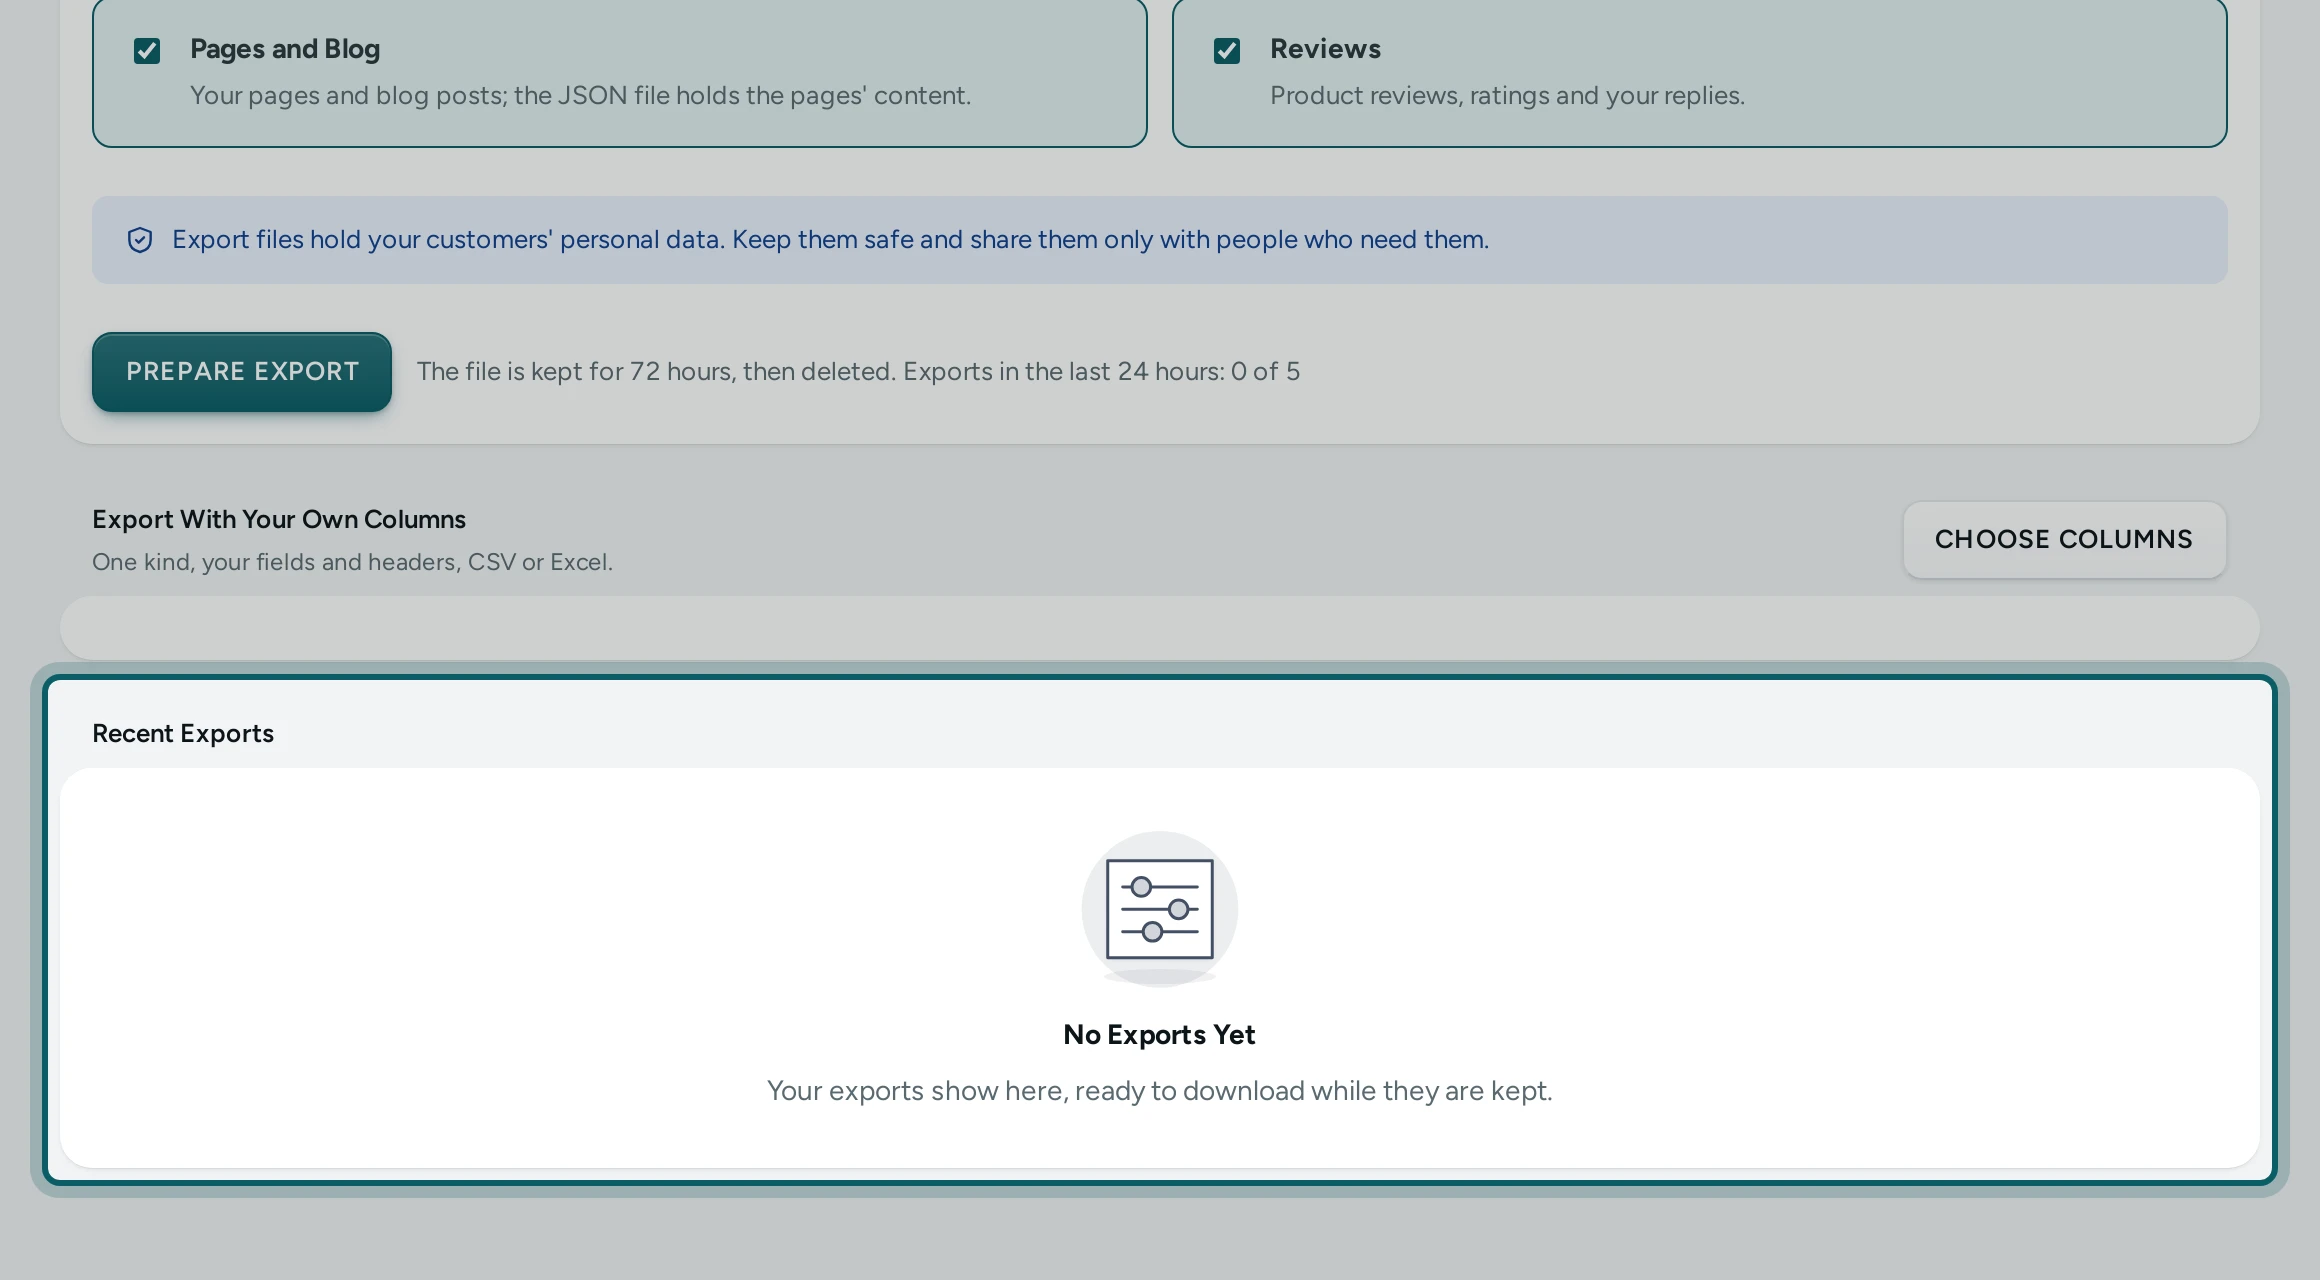
Open the builder. Open Settings › Import and Export, the Export tab. On the Export With Your Own Columns card, press CHOOSE COLUMNS.
Step 2 of 7
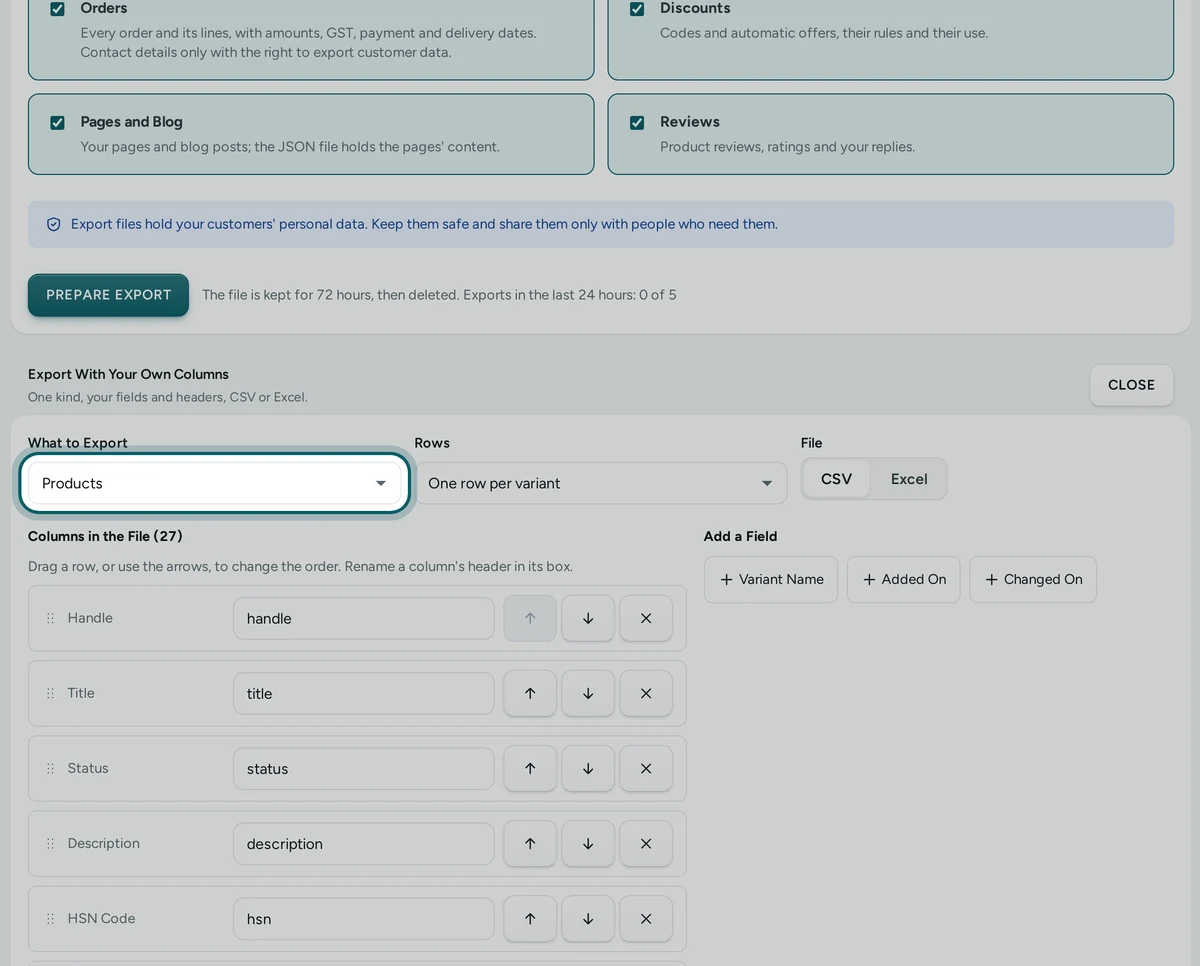
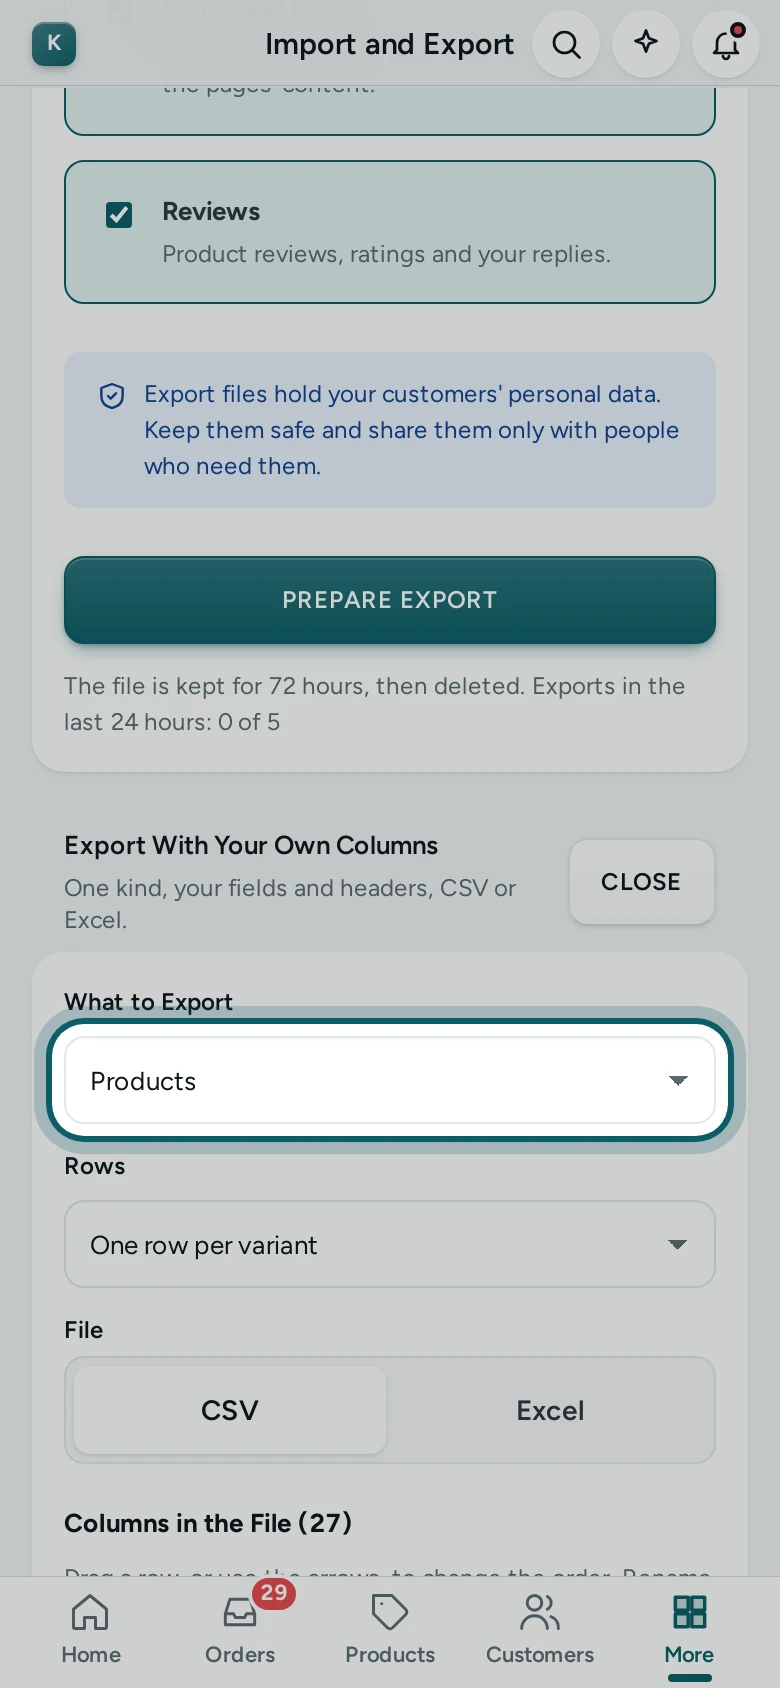
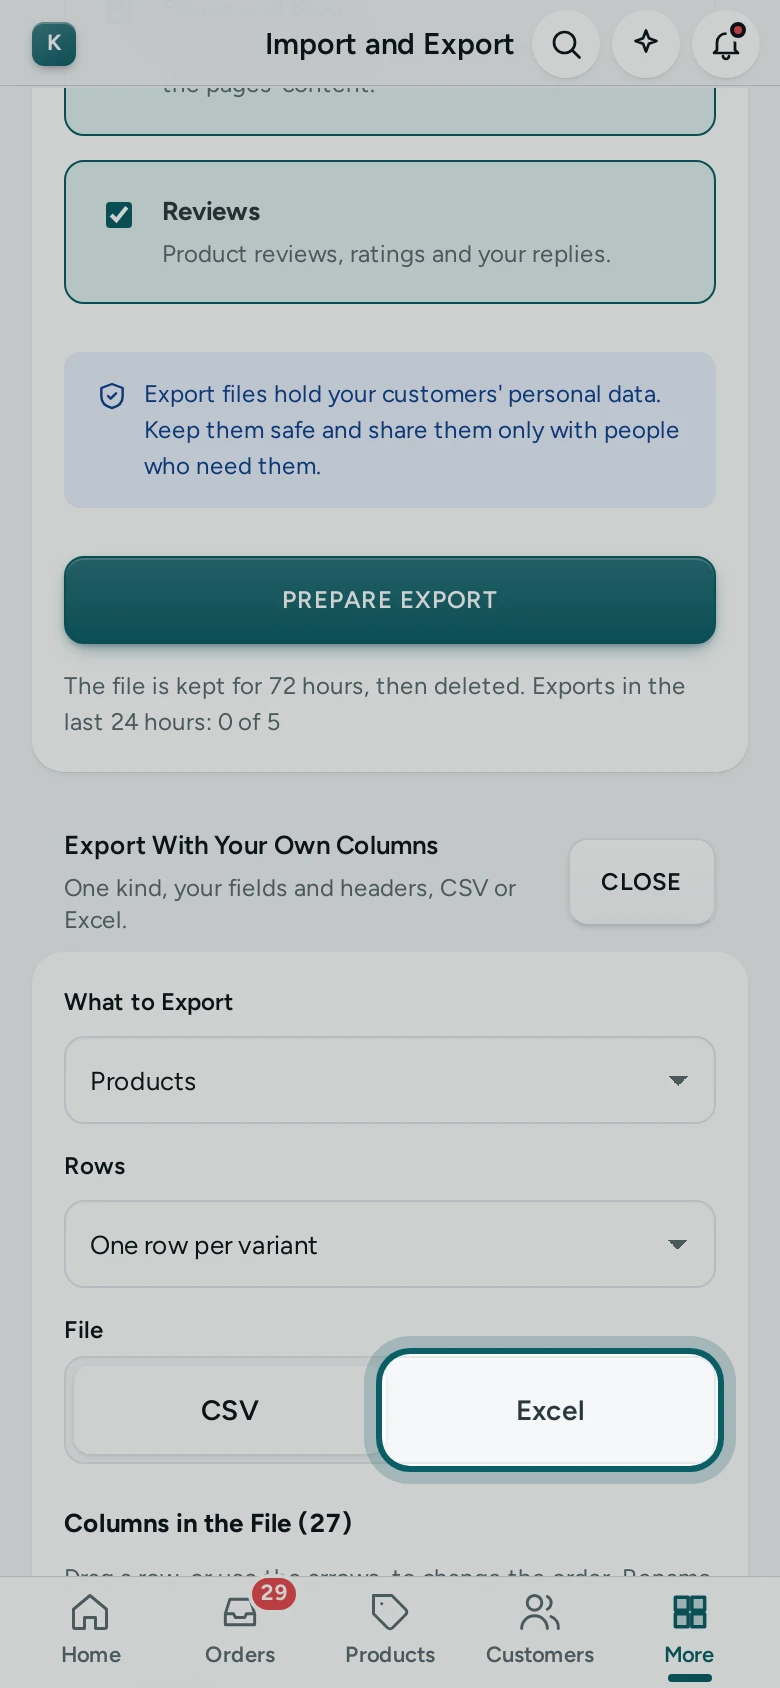
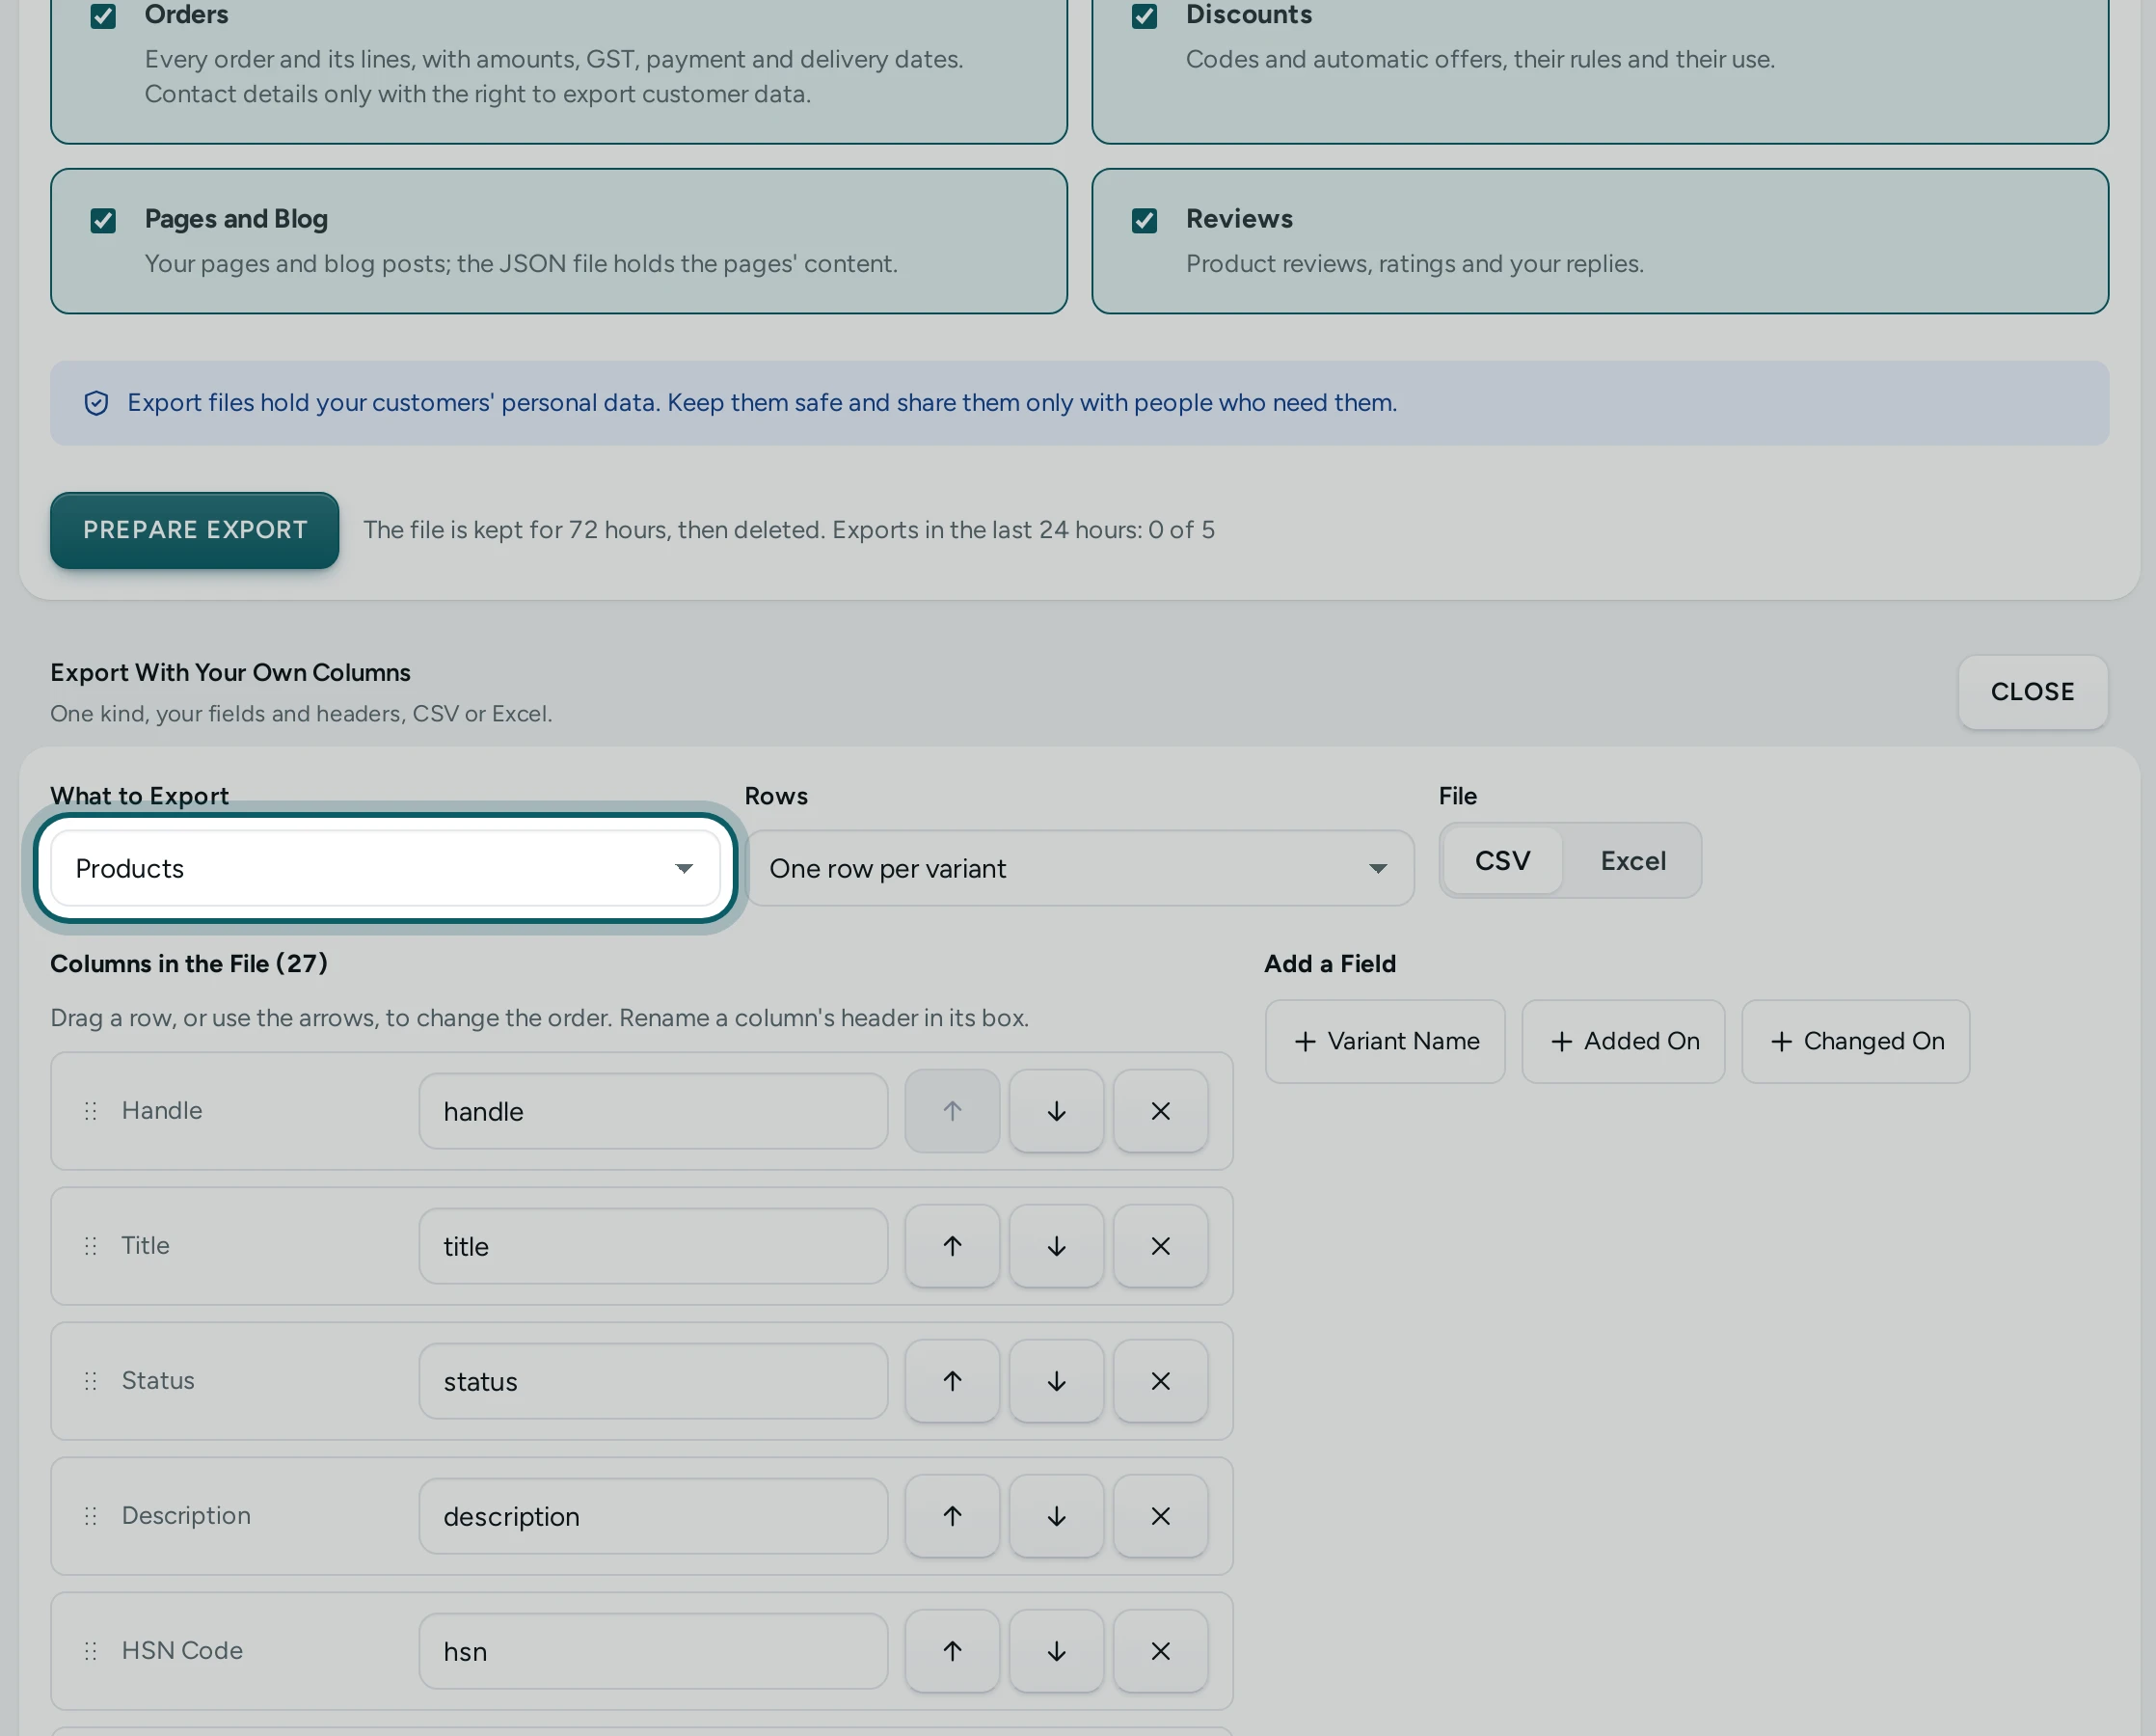
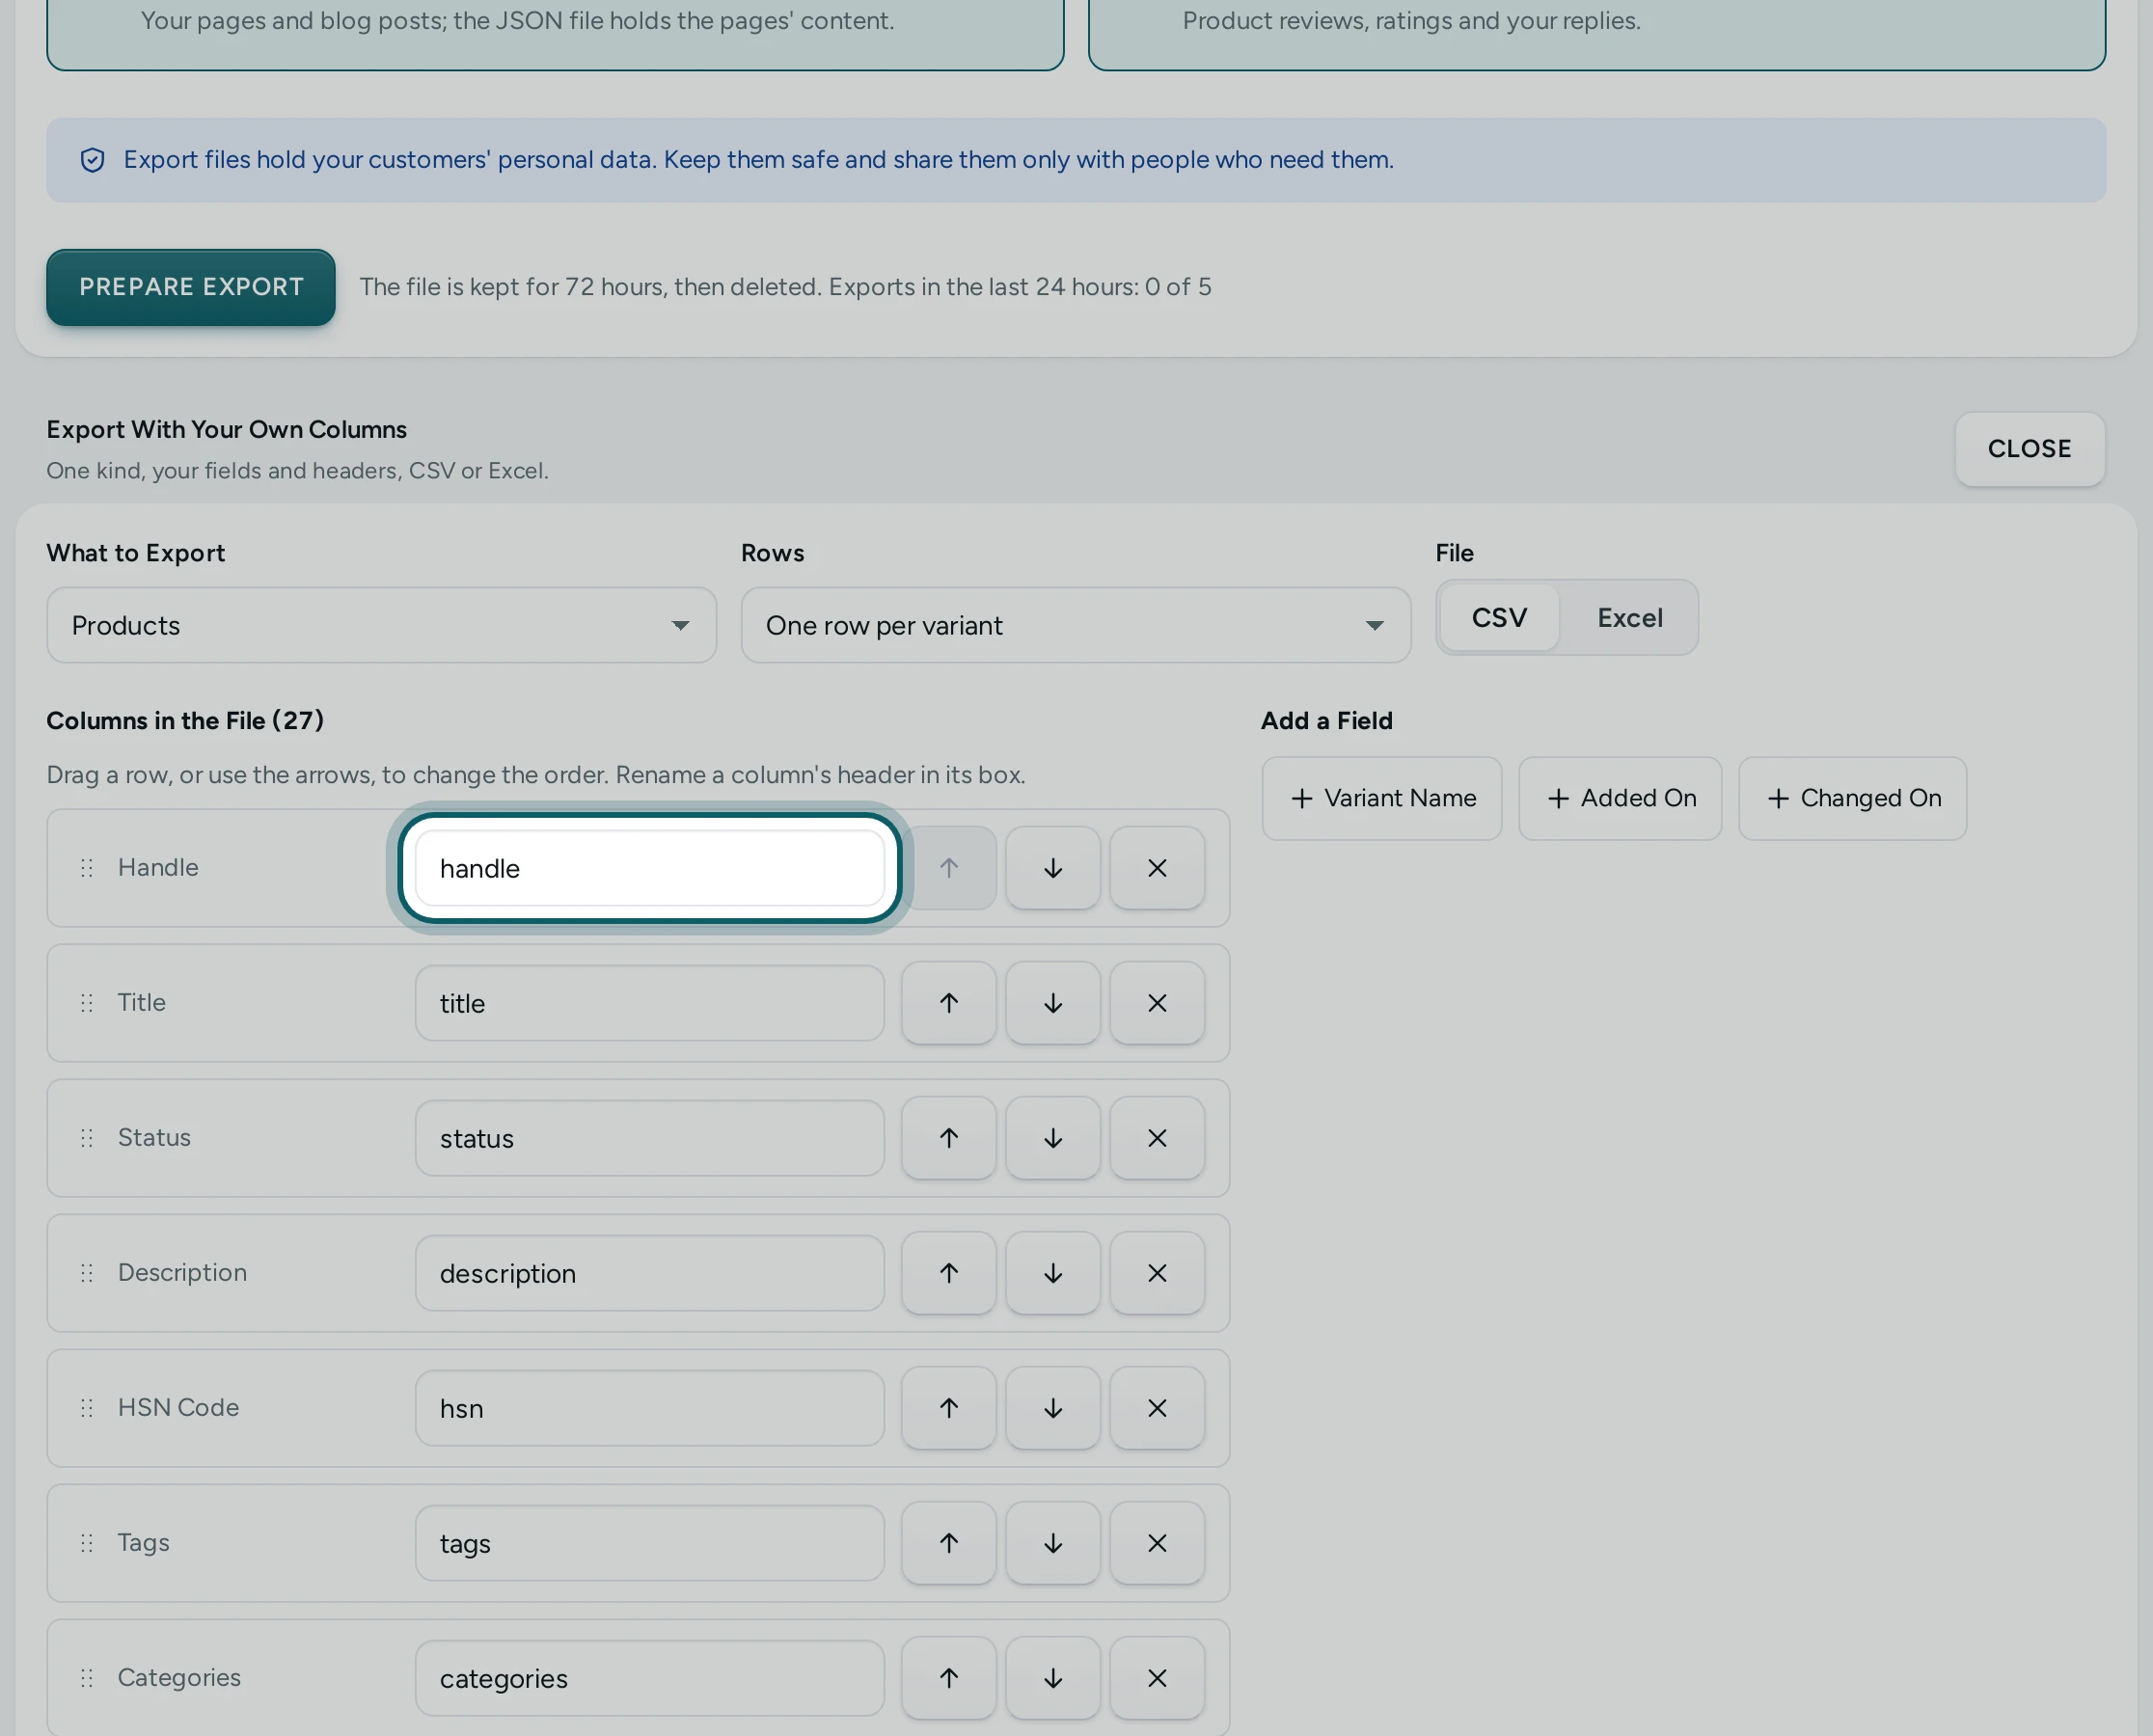
What to export. Under What to Export, choose the kind: Products, Customers, Past Orders (your store's orders), Reviews, Discount Codes or Pages and Posts. For products, Rows is One row per variant or One row per product; for orders, One row per order or One row per order item (with the item's columns).
Step 3 of 7
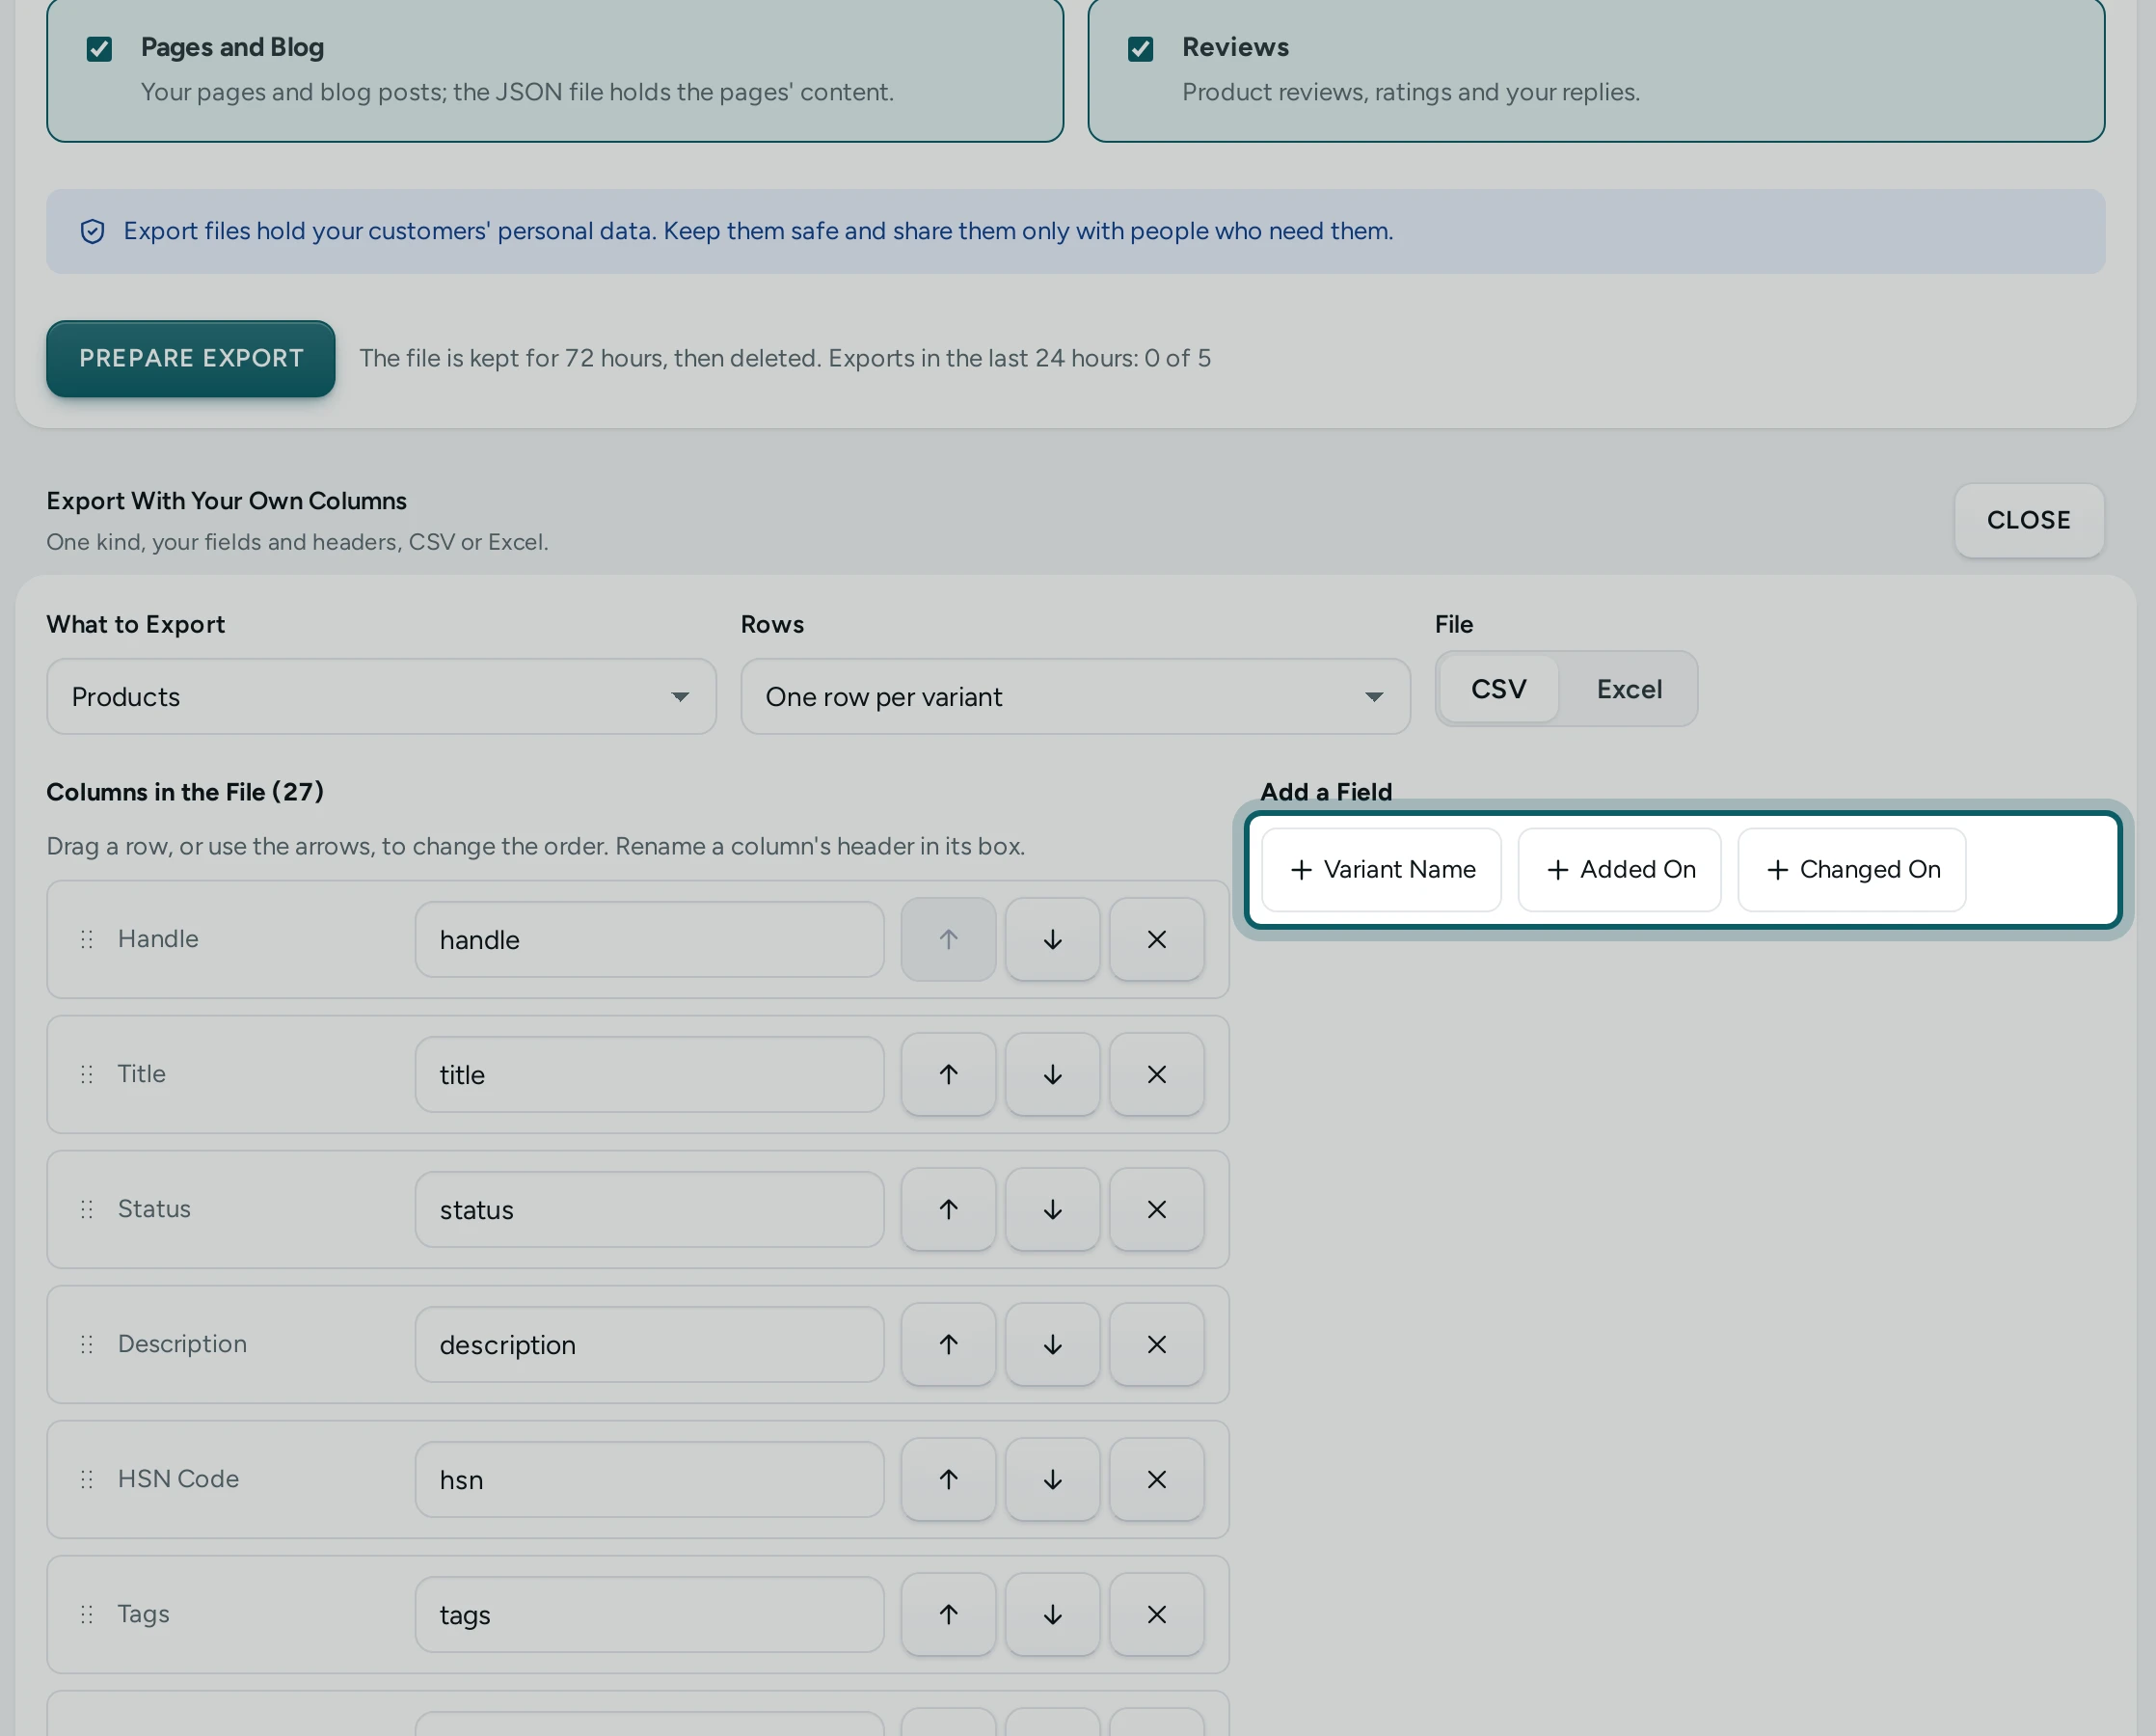
Add the fields. Add a Field lists every field of the kind. Press one to add it to Columns in the File.
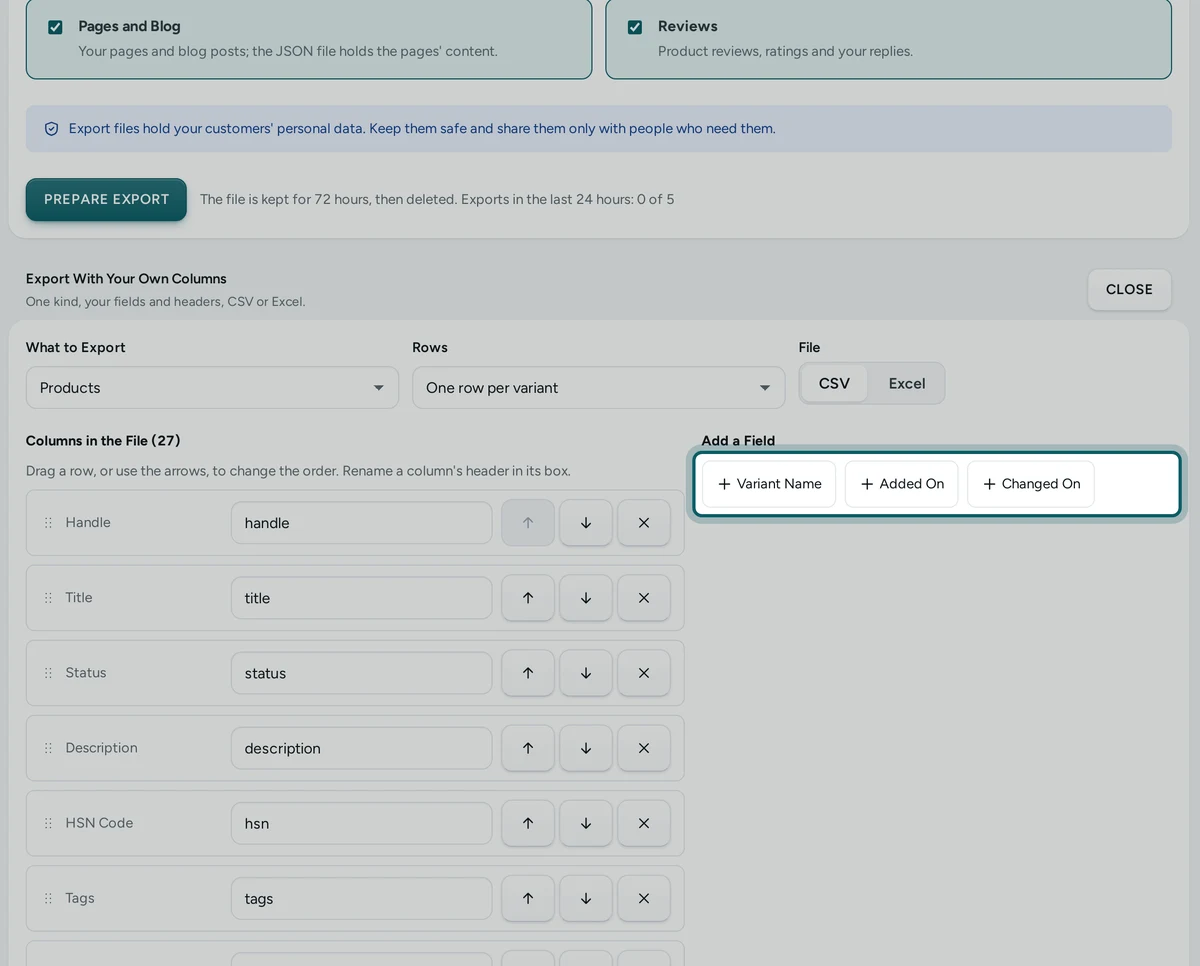
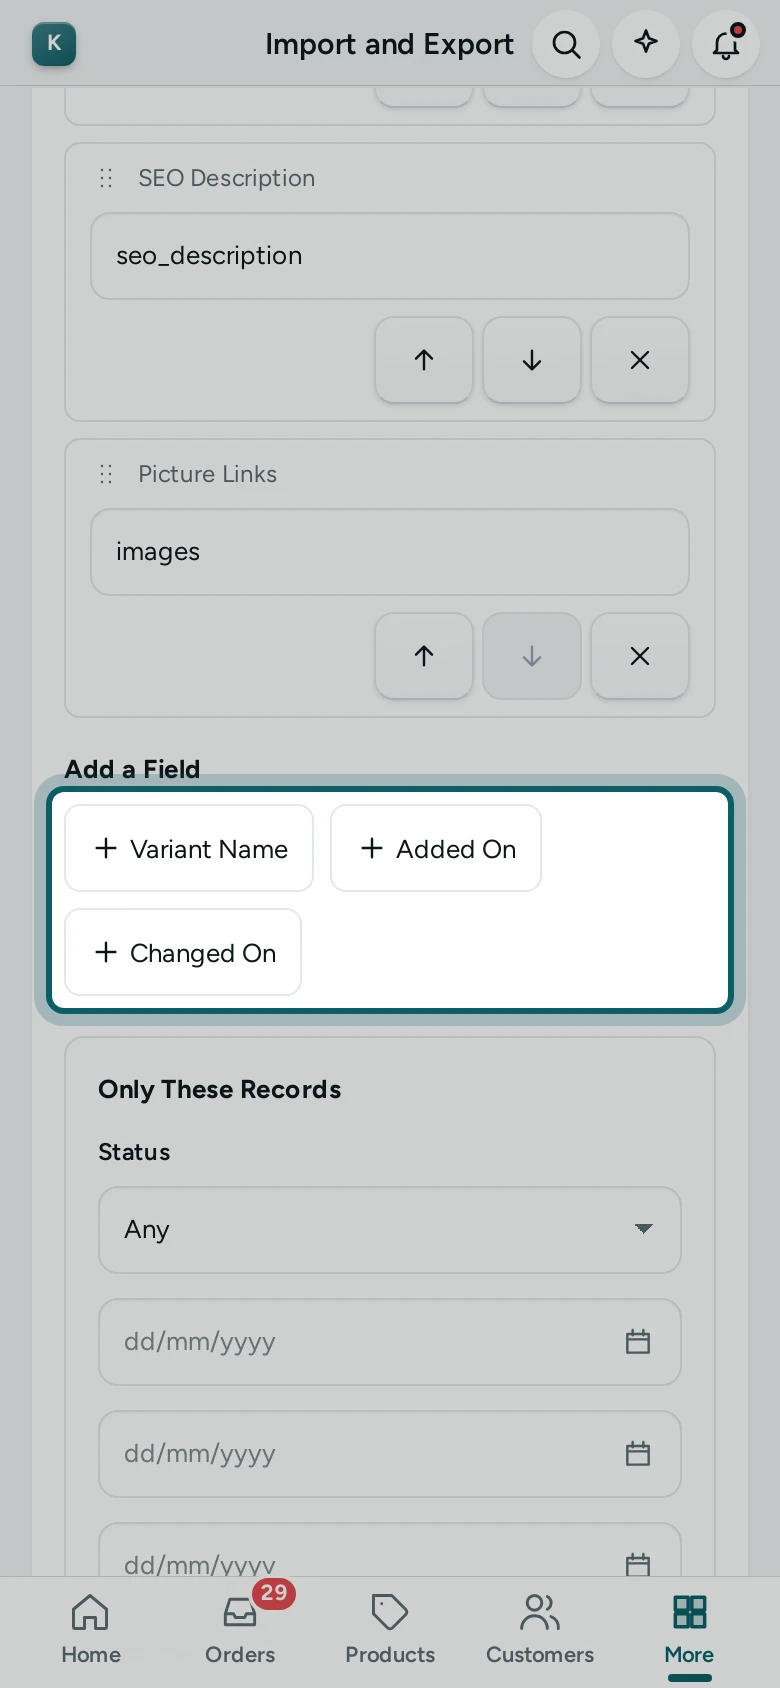
Step 4 of 7
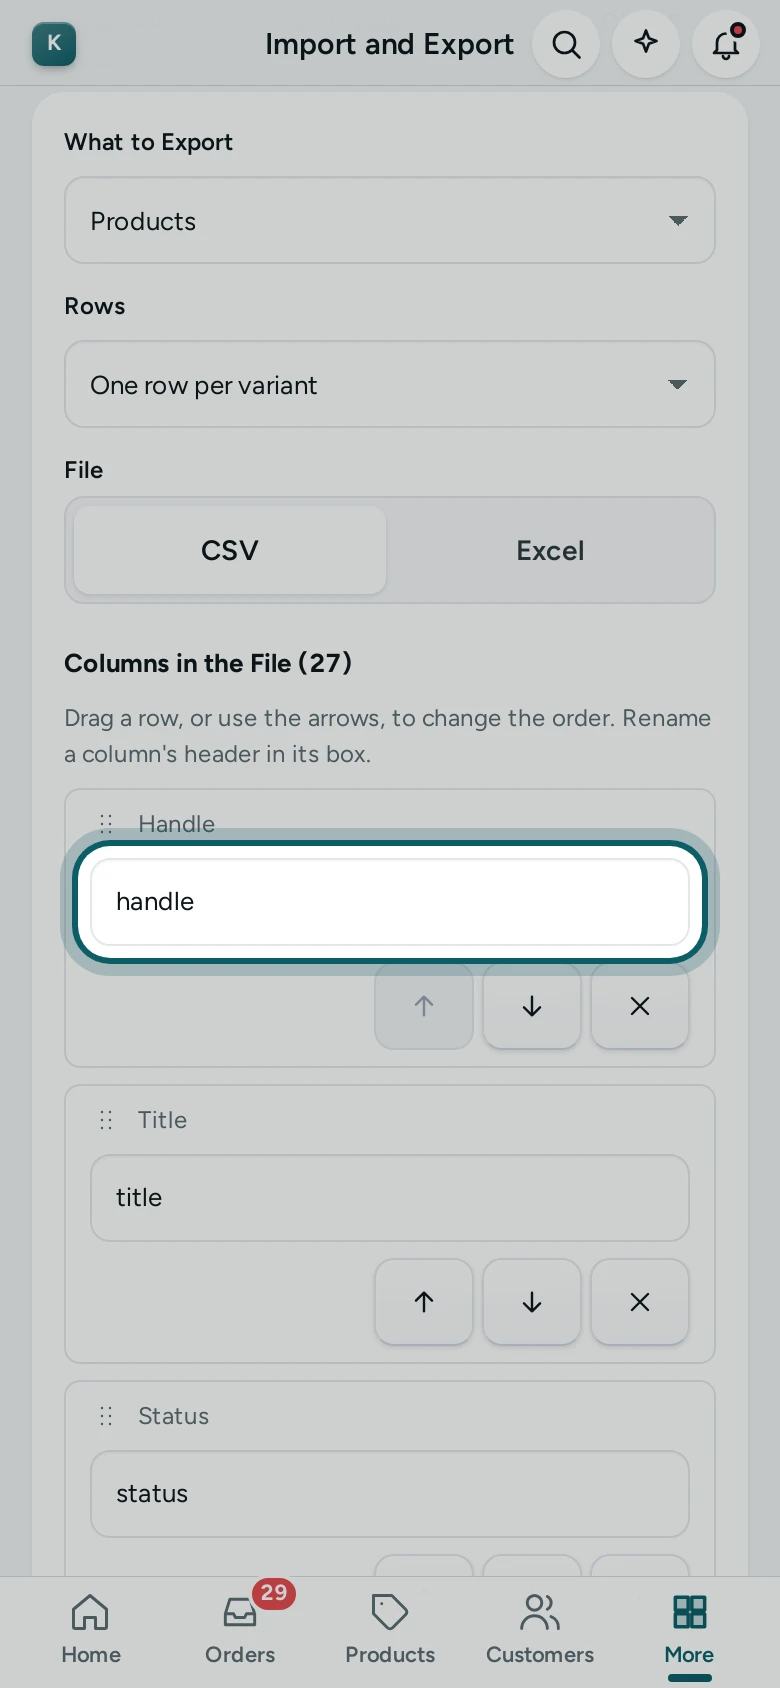
Put them in order. In Columns in the File, drag a row, or use Move up and Move down, to change the order. Take out removes a field.
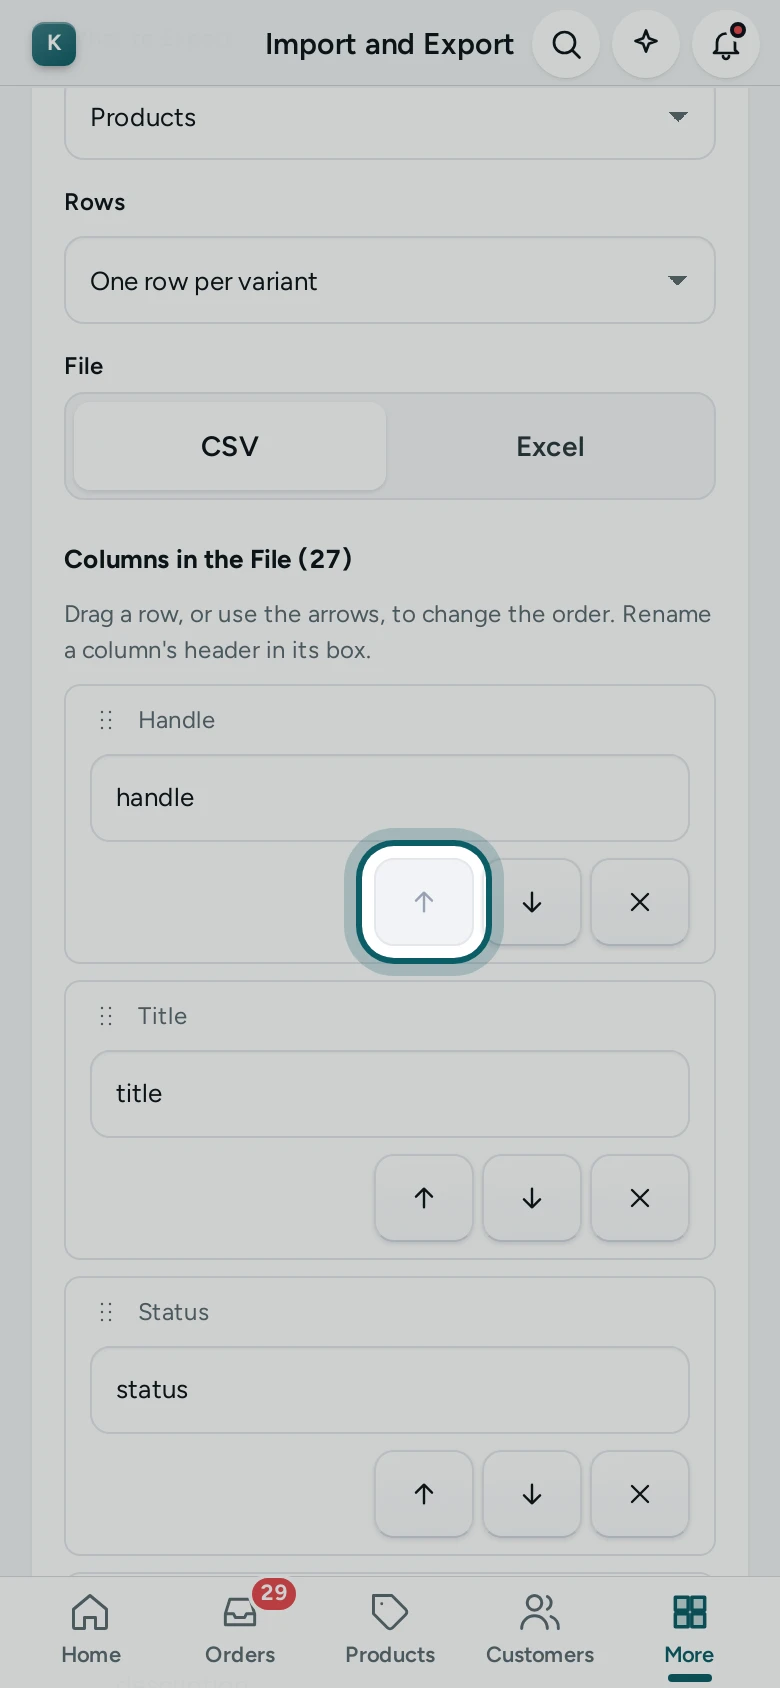
Step 5 of 7
Rename the headers. Each column's header is in its box (Header for SKU…): write the words your wholesaler, accountant or other system expects, such as "Item Code" or "Rate".
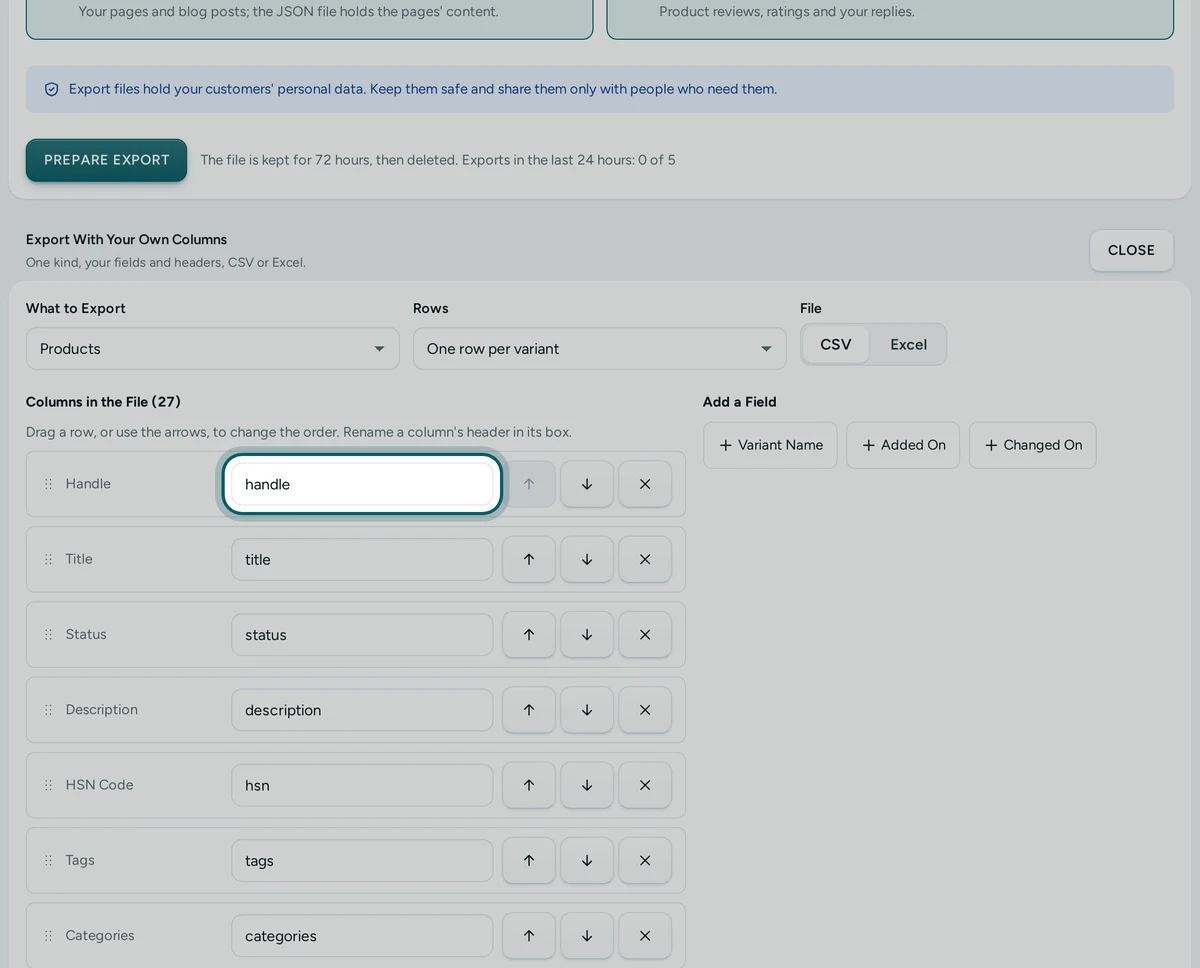
Step 6 of 7
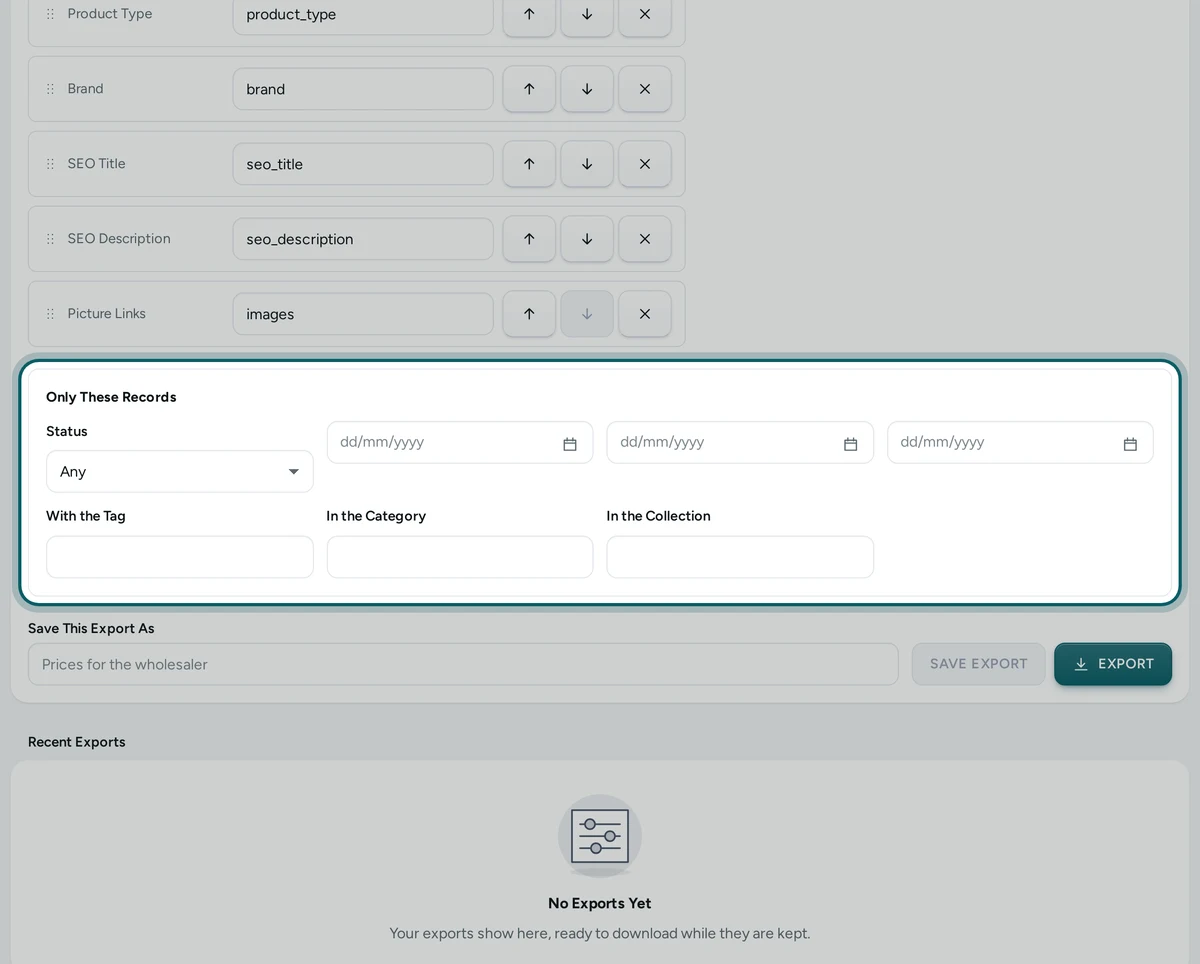
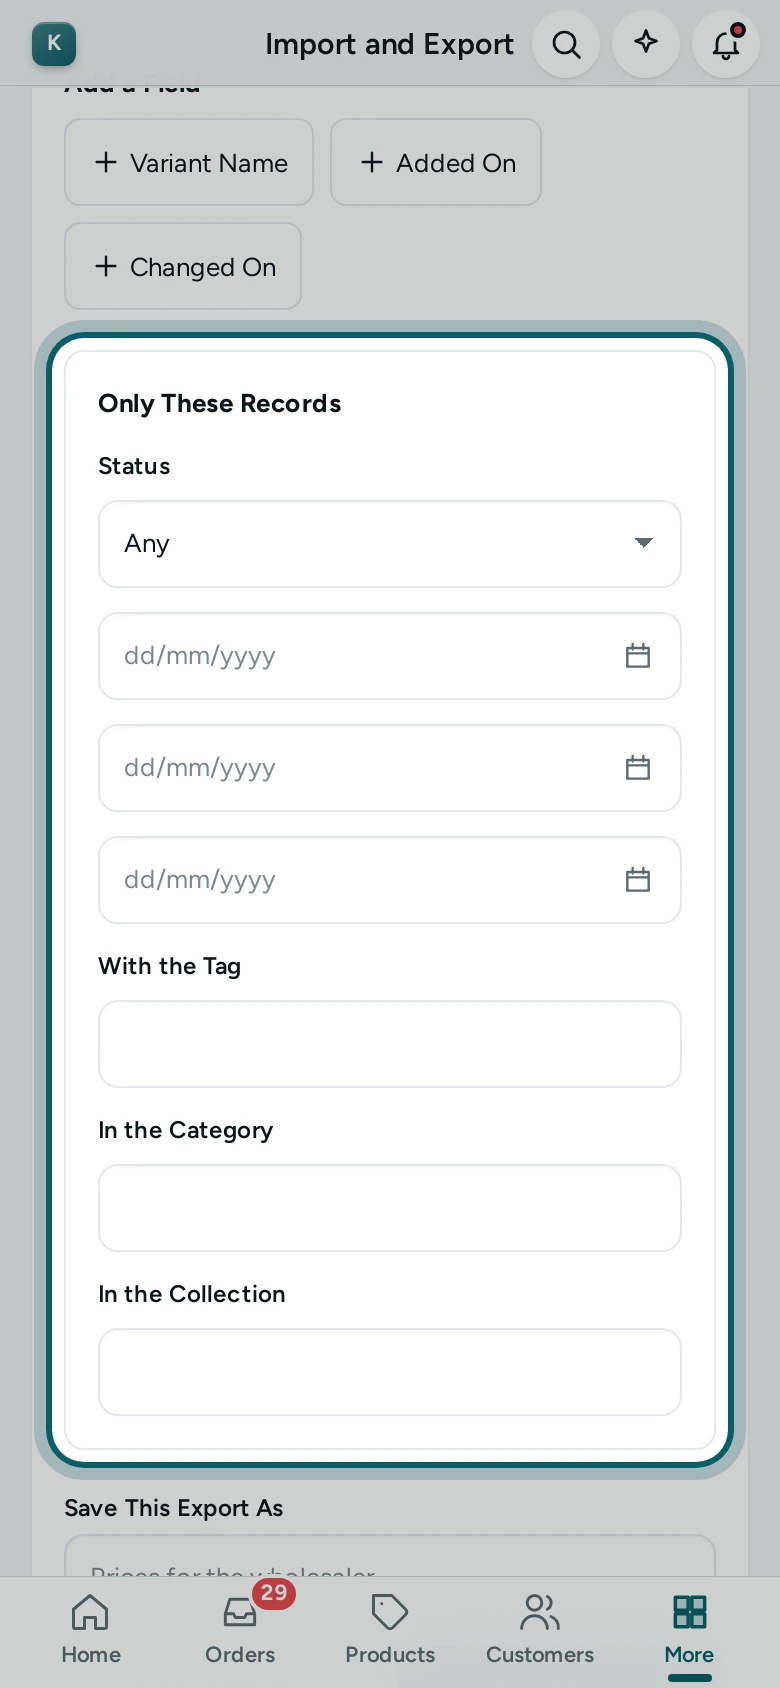
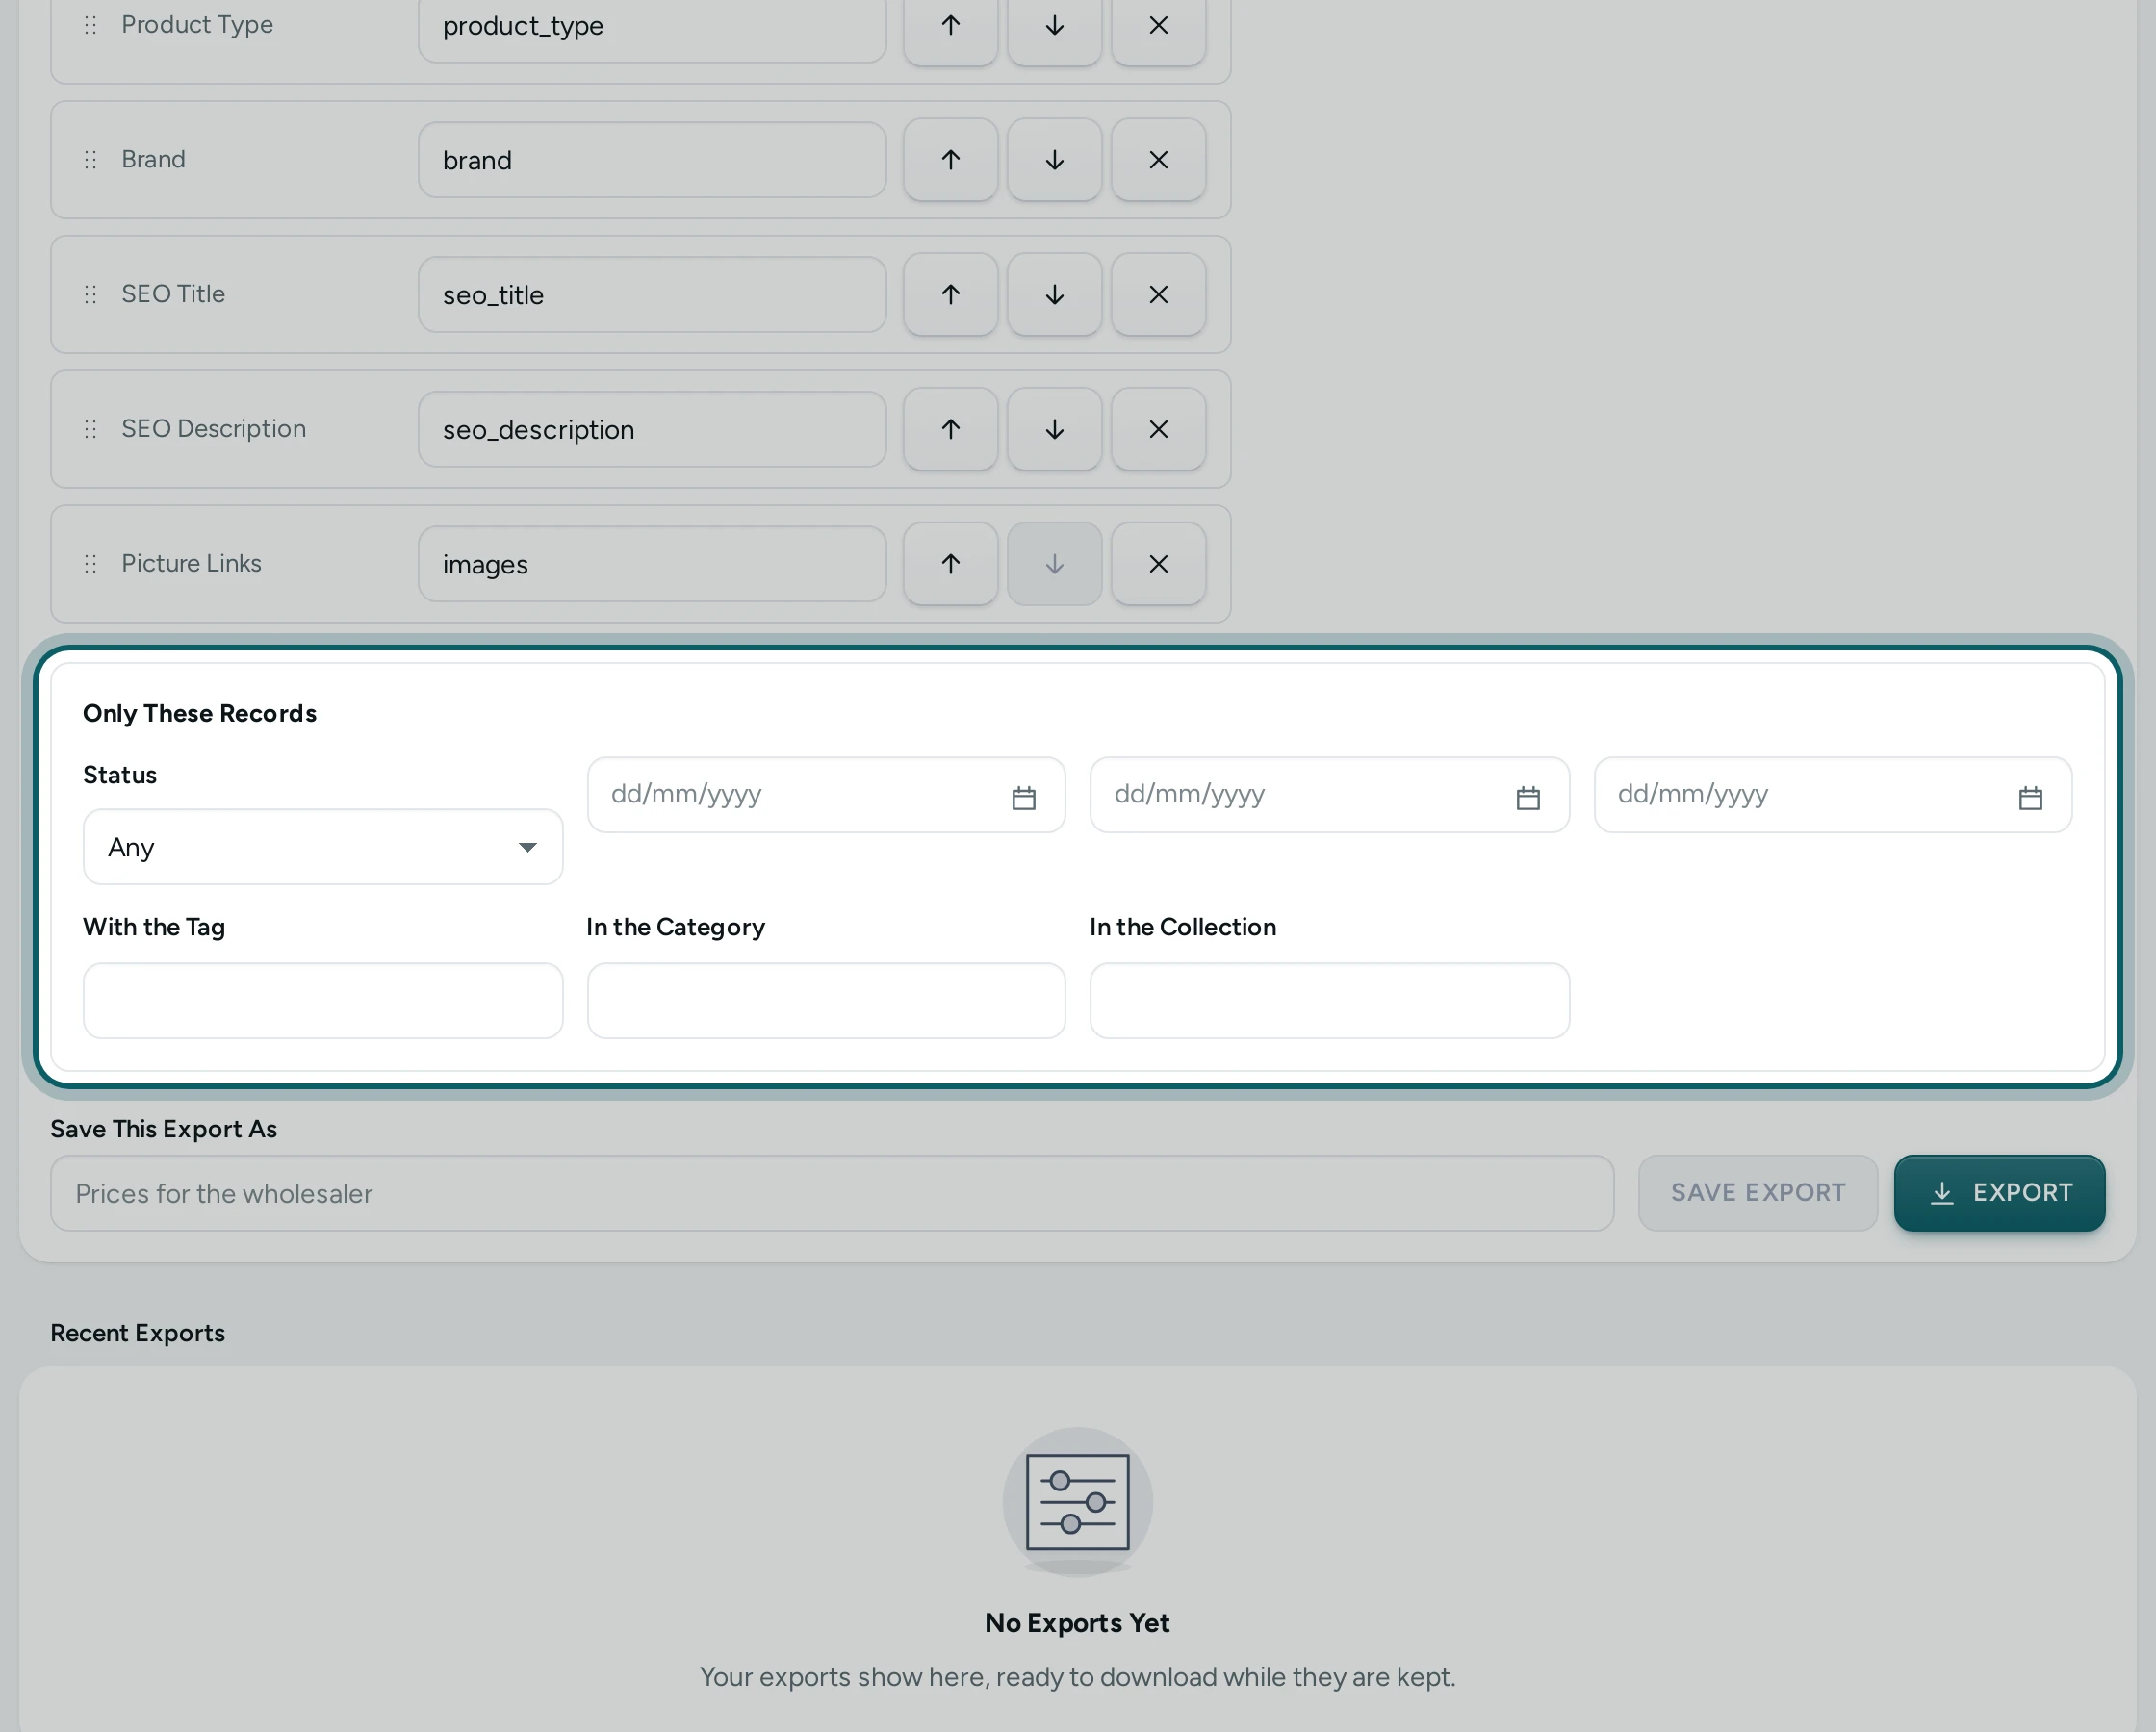
Only these records. Under Only These Records, keep only what you need: Status, From and To dates; for products also Changed Since, With the Tag, In the Category and In the Collection; for customers With the Tag.
Step 7 of 7
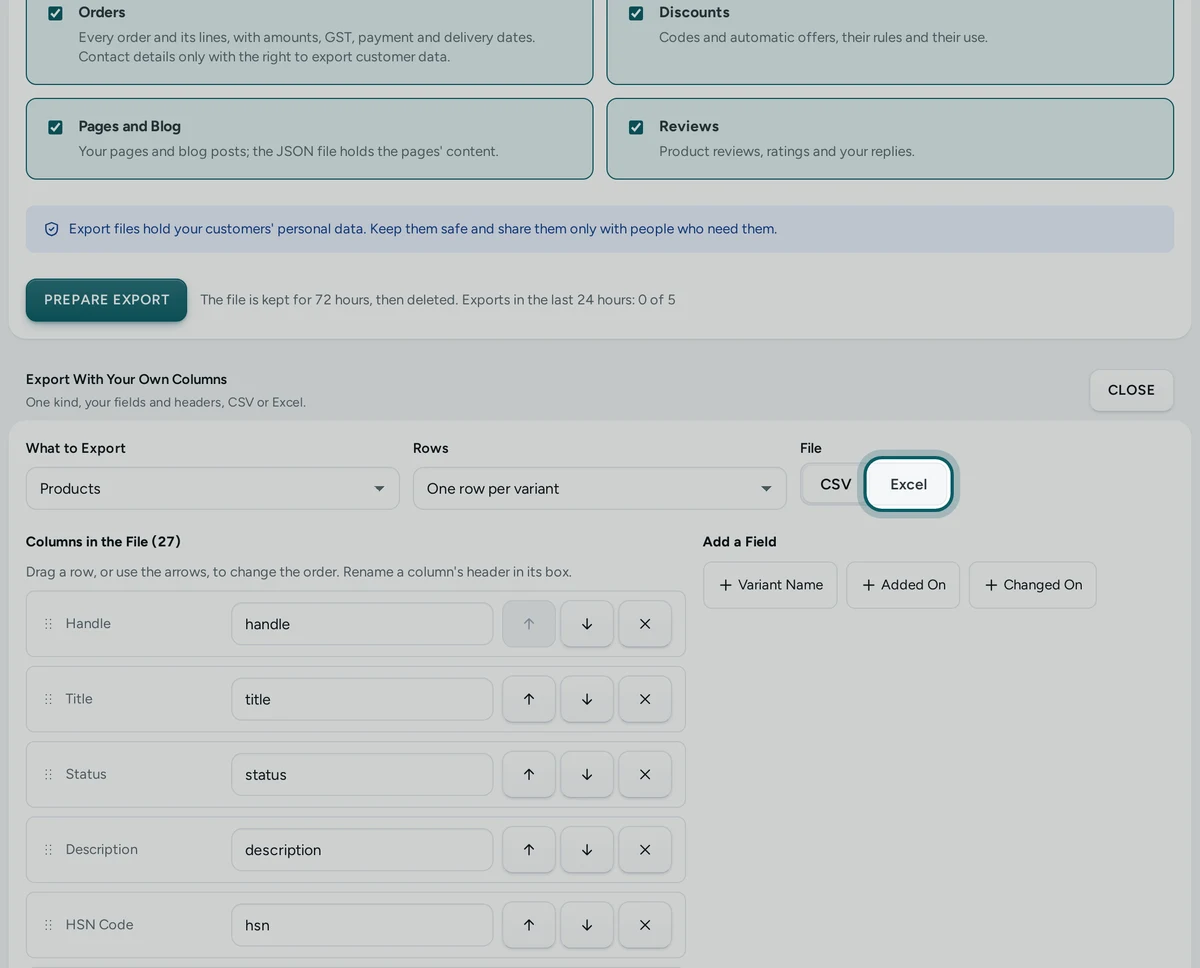
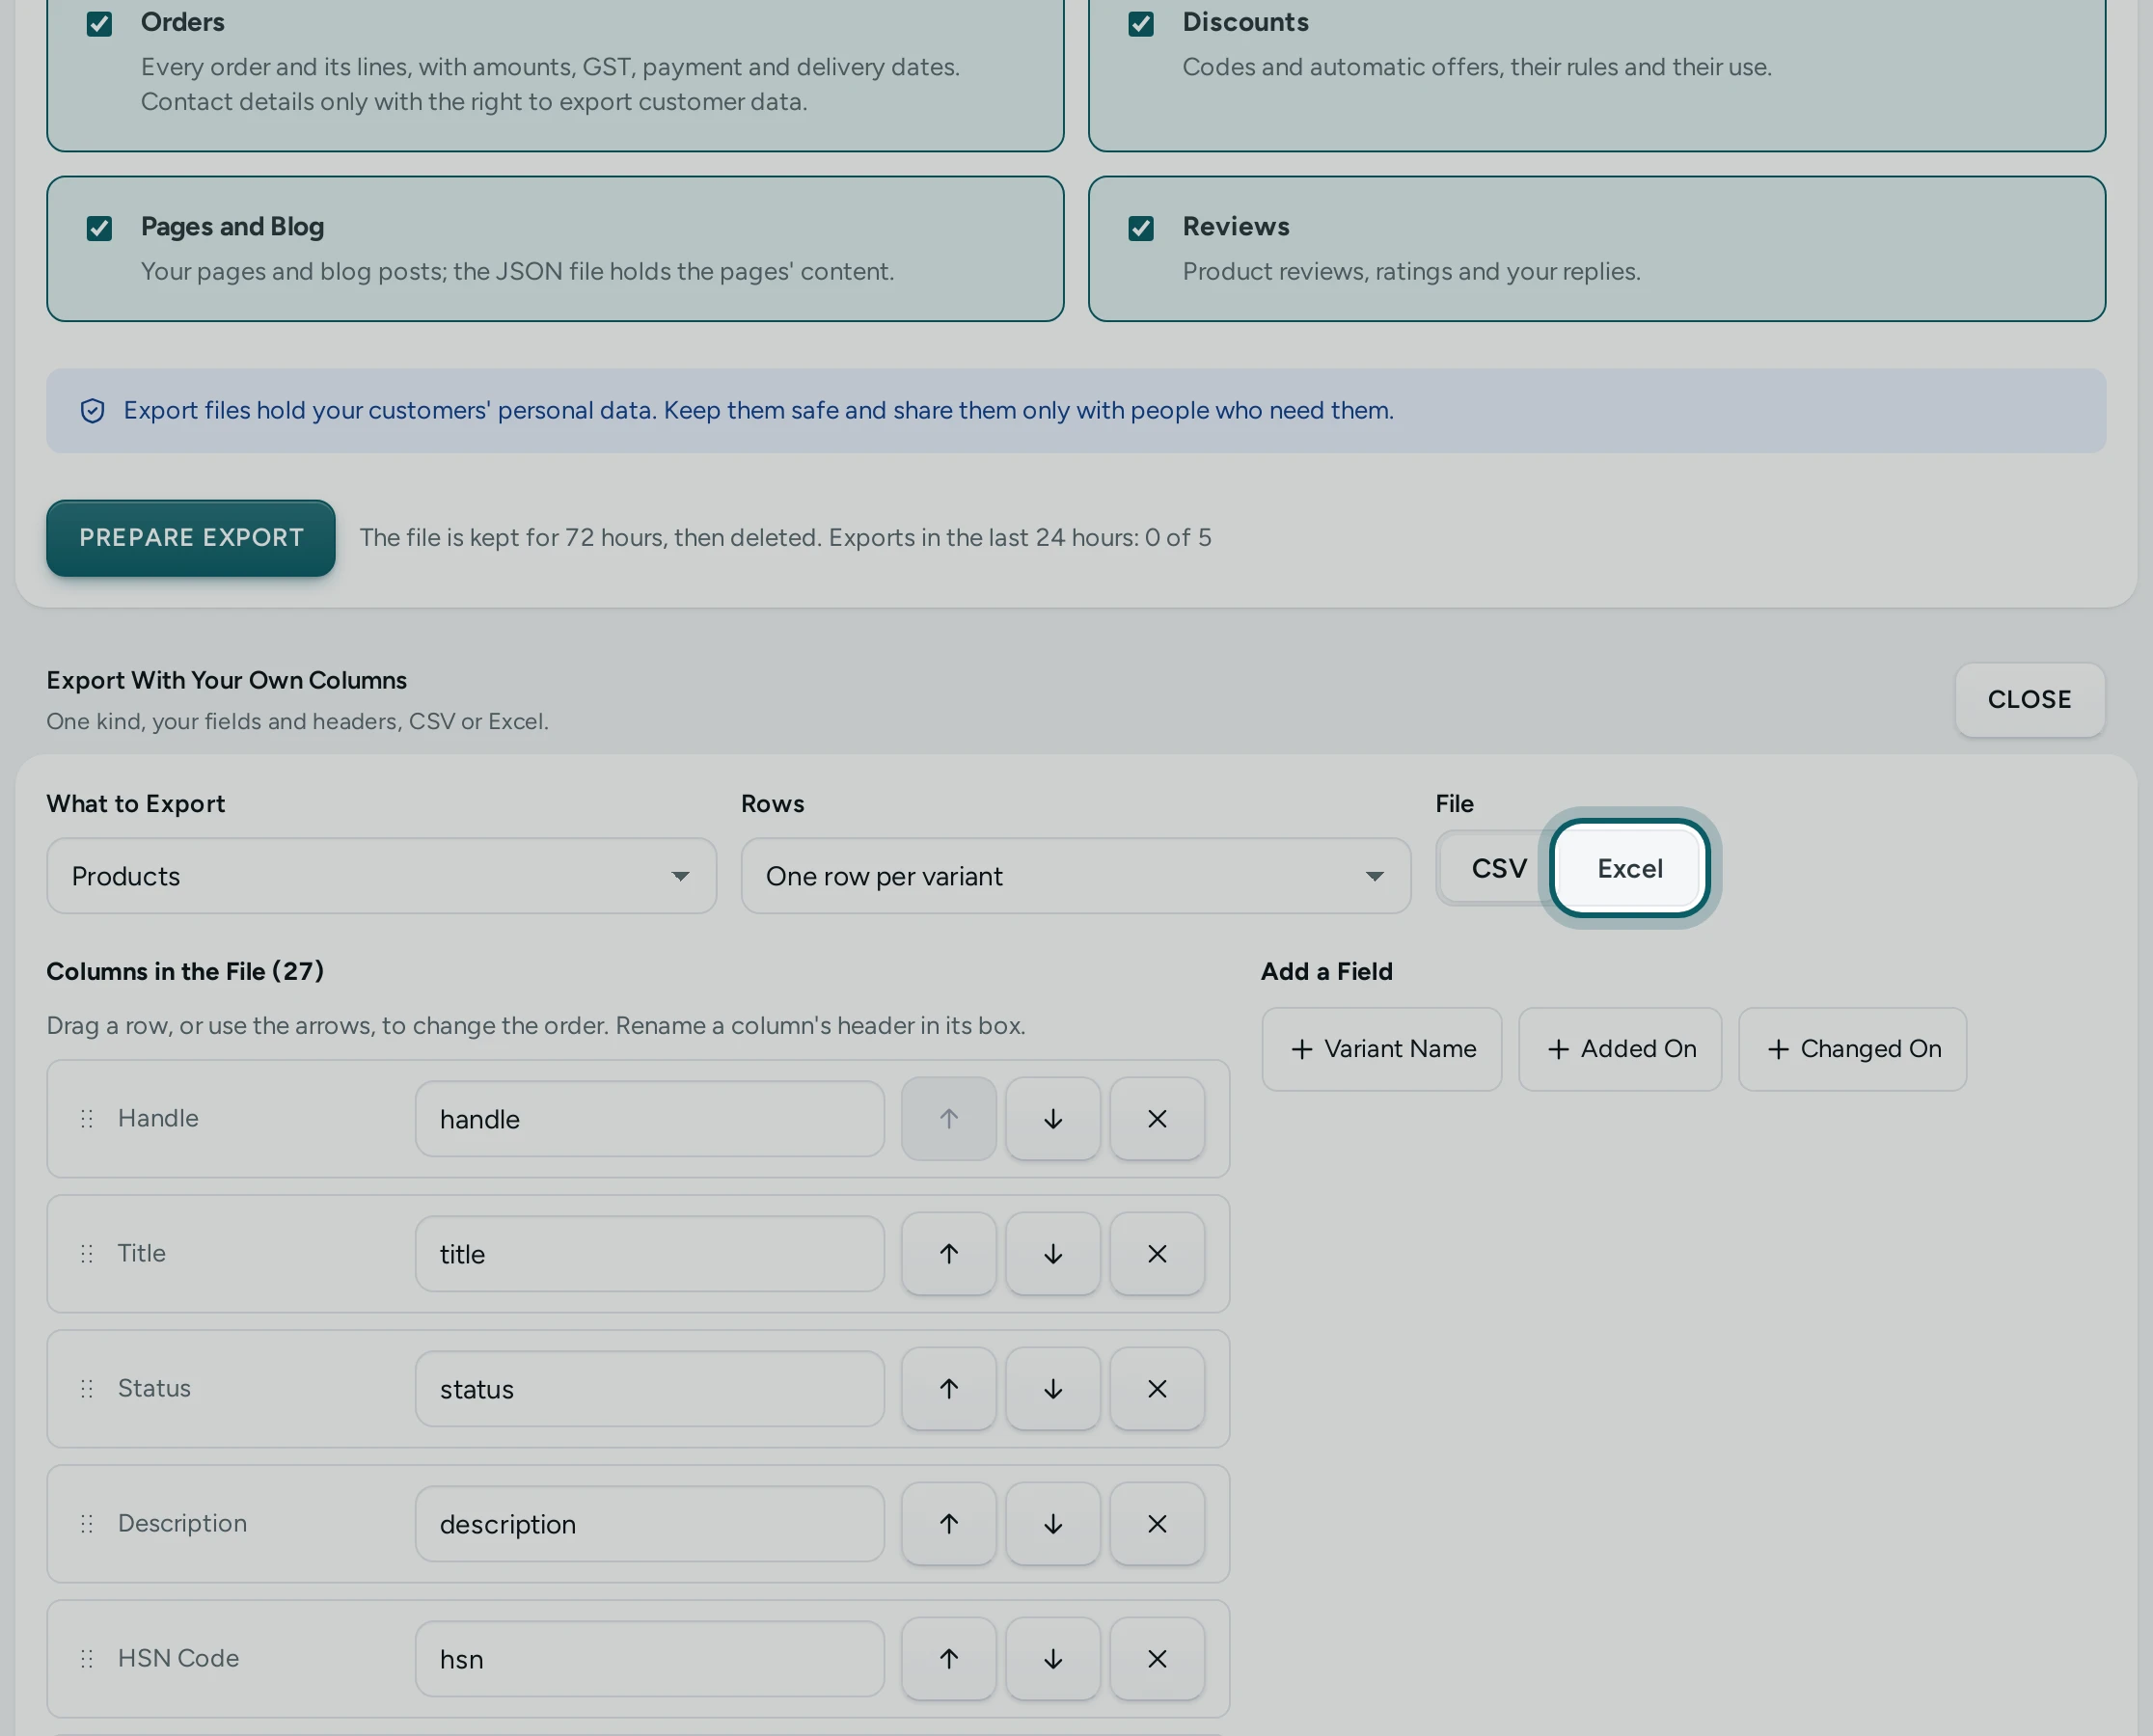
CSV or Excel. Under File, choose CSV or Excel. Both open cleanly in Excel and Google Sheets, rupee signs and Hindi included; a cell is never written as a formula.
Save It and Export
Step 1 of 3
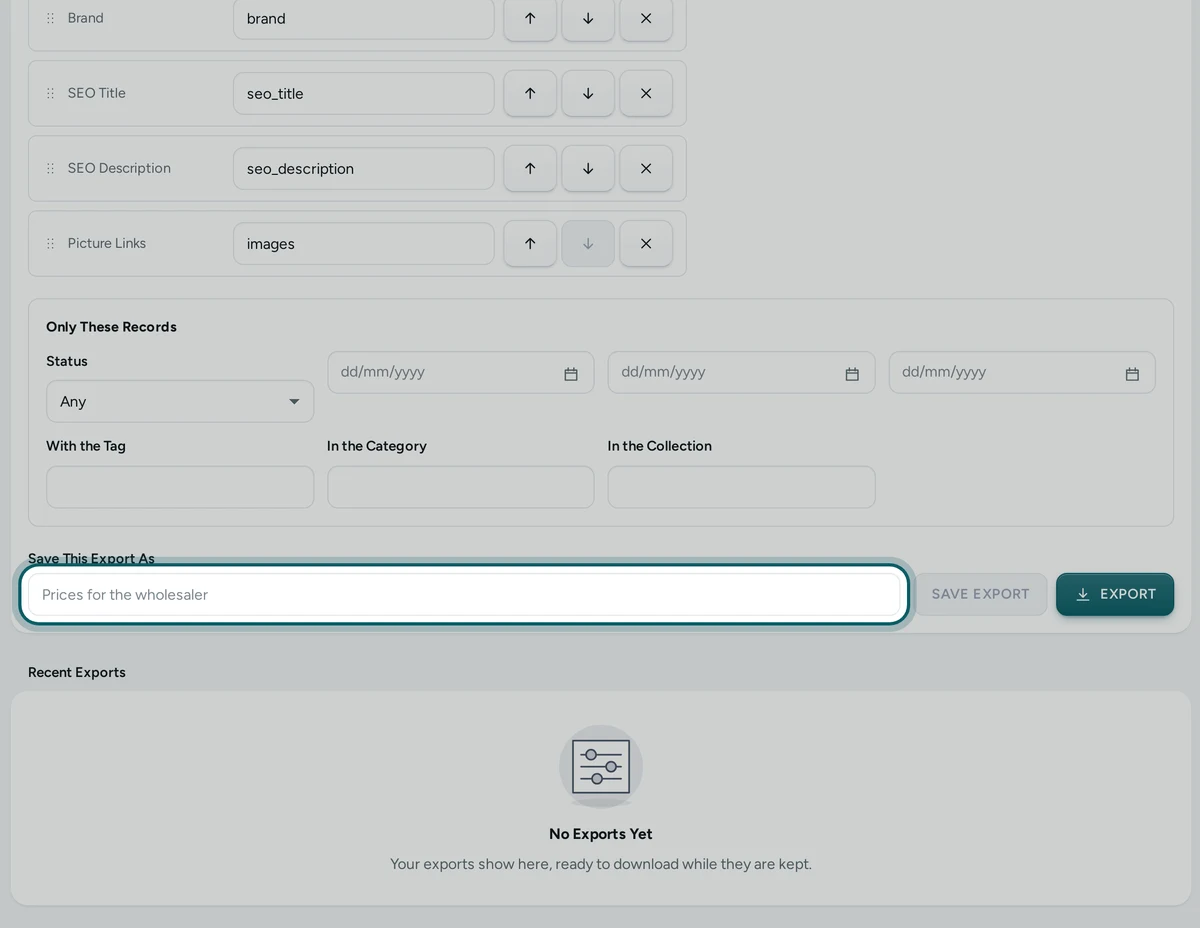
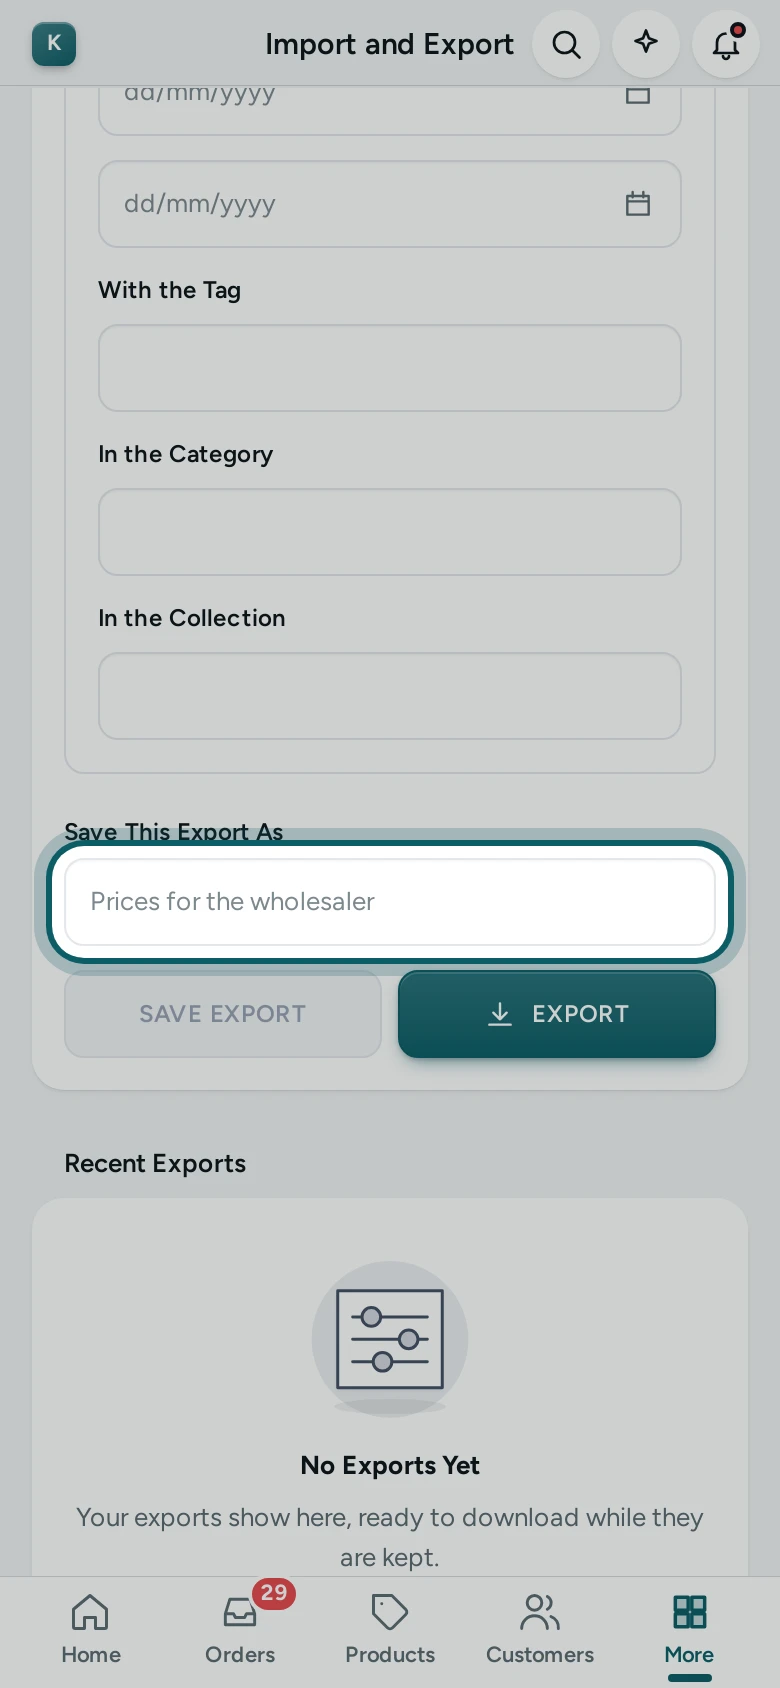
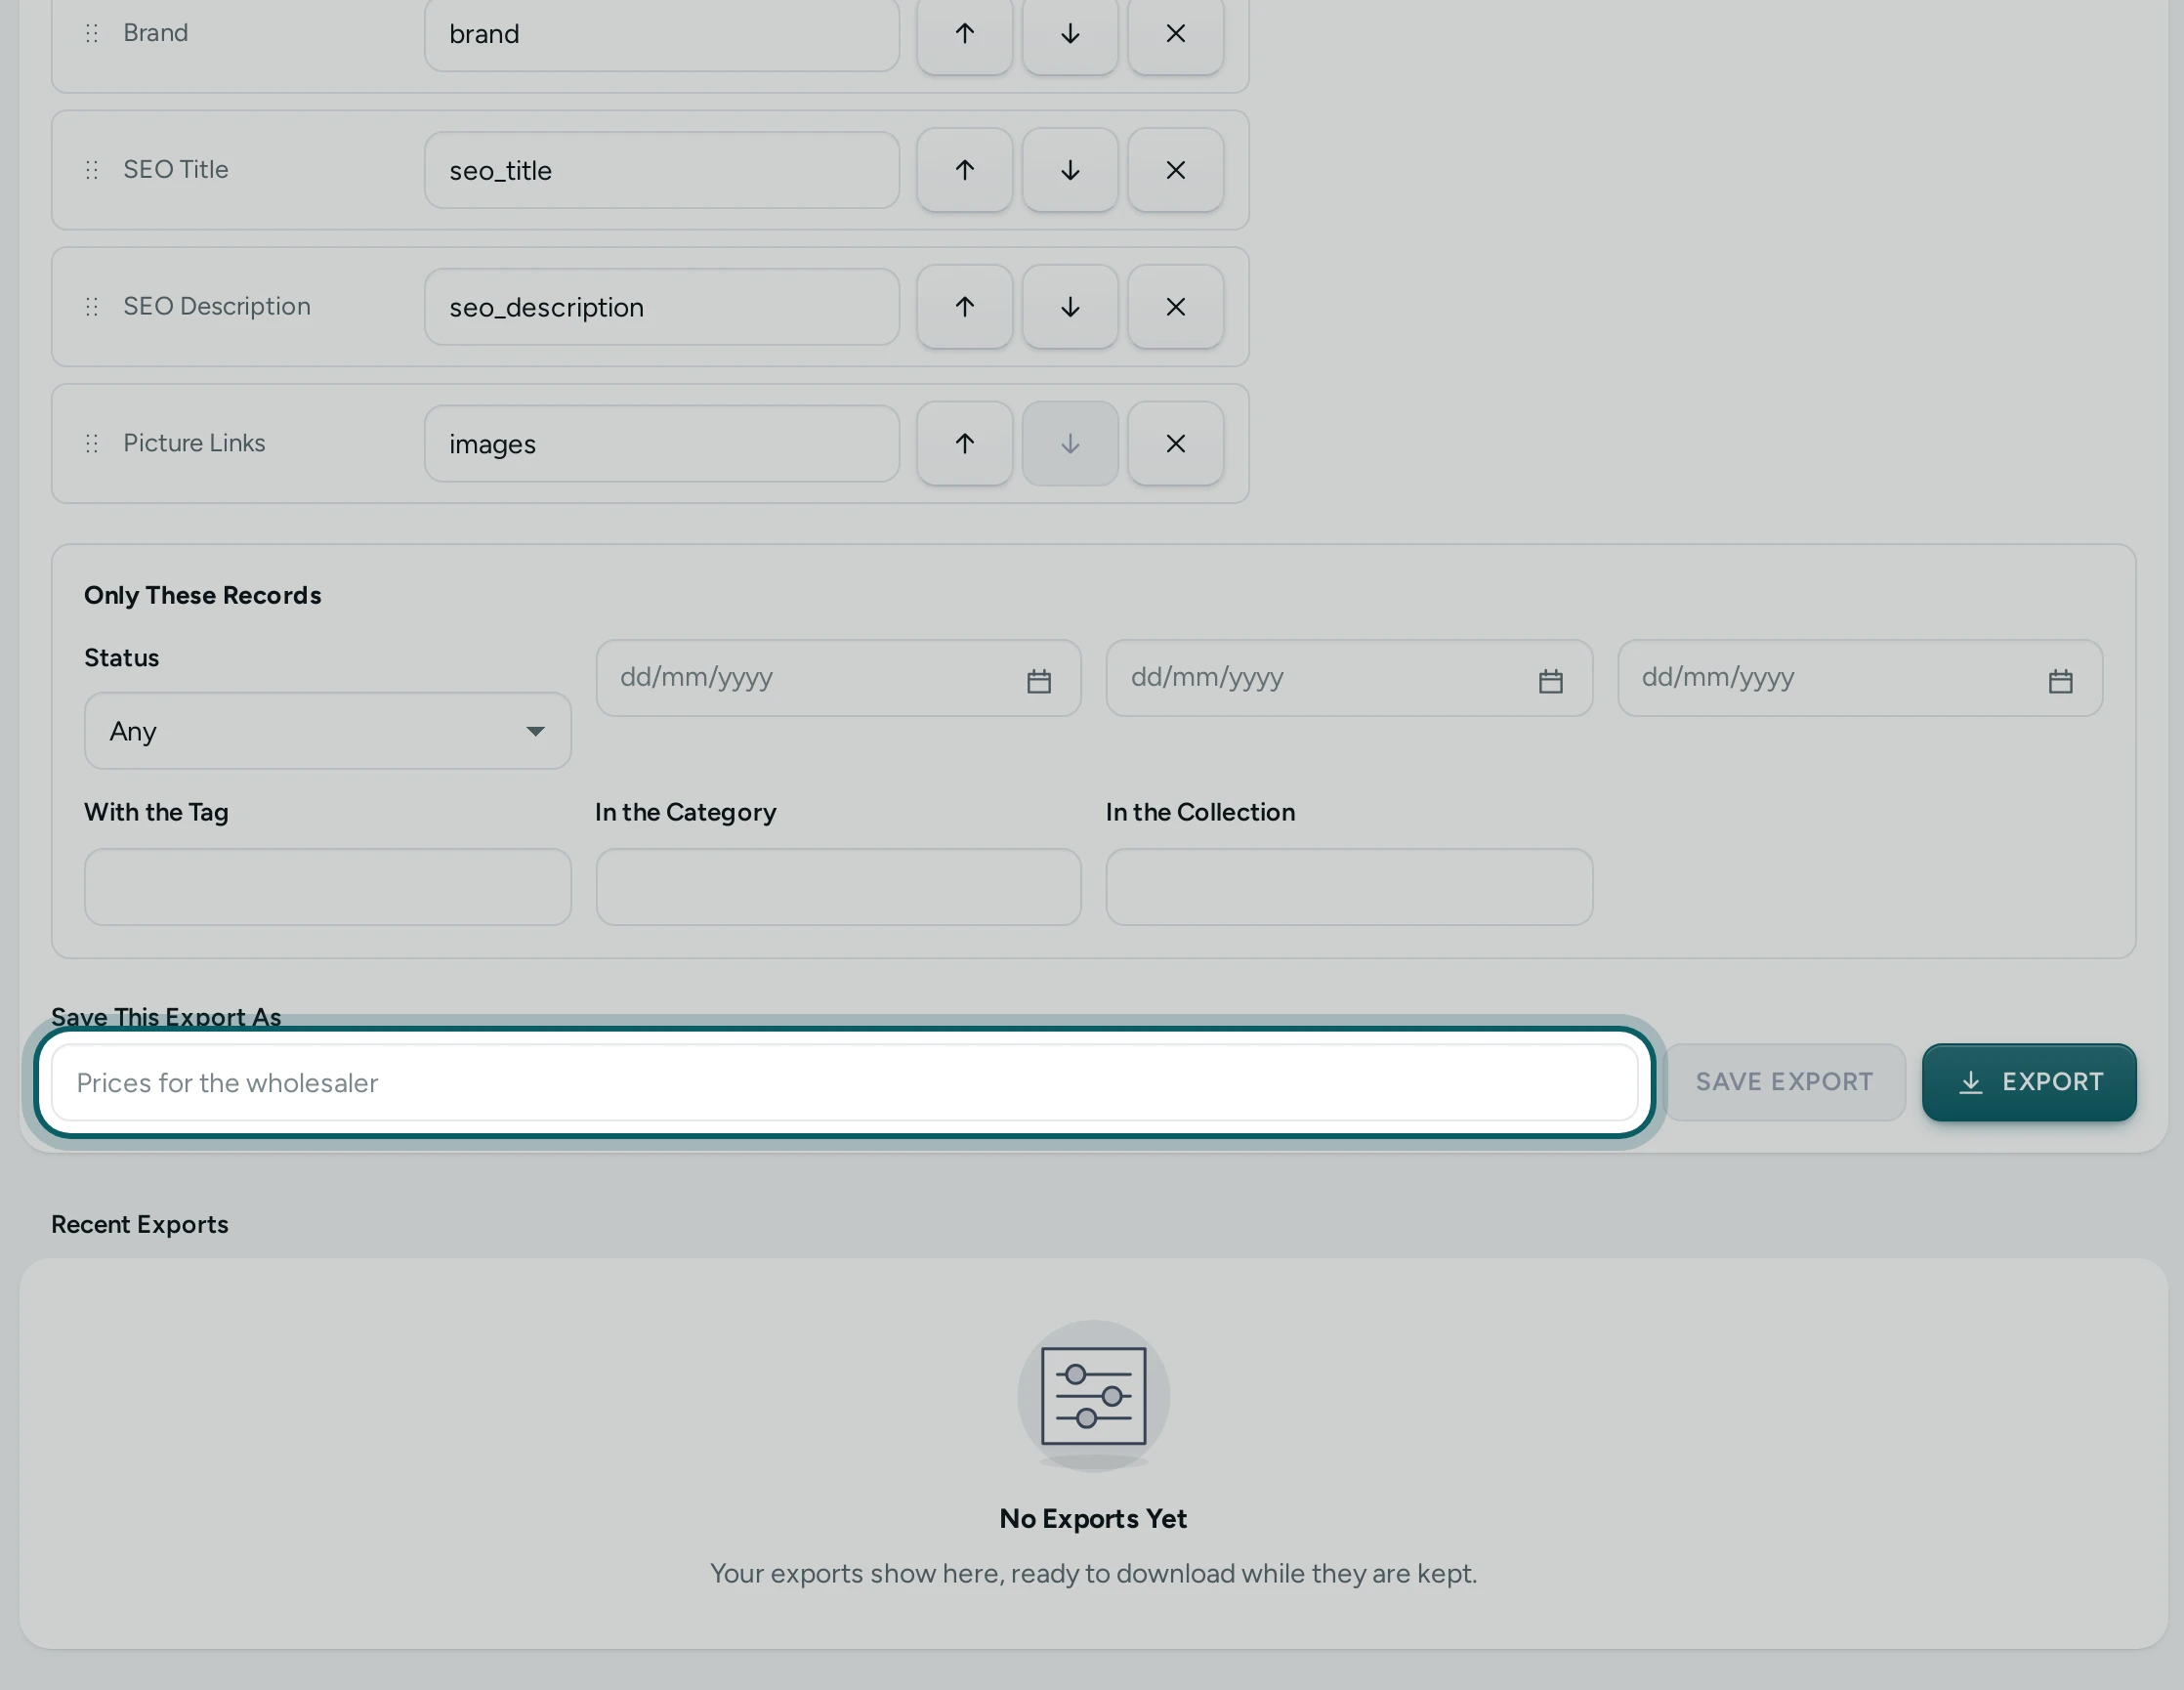
Save the export. Under Save This Export As, name it, such as "Prices for the wholesaler", and press SAVE EXPORT. Saved Exports at the top of the builder lists it with USE. Saving also saves the matching that reads such a file back in, named "Prices for the wholesaler (to import again)".
Step 2 of 3
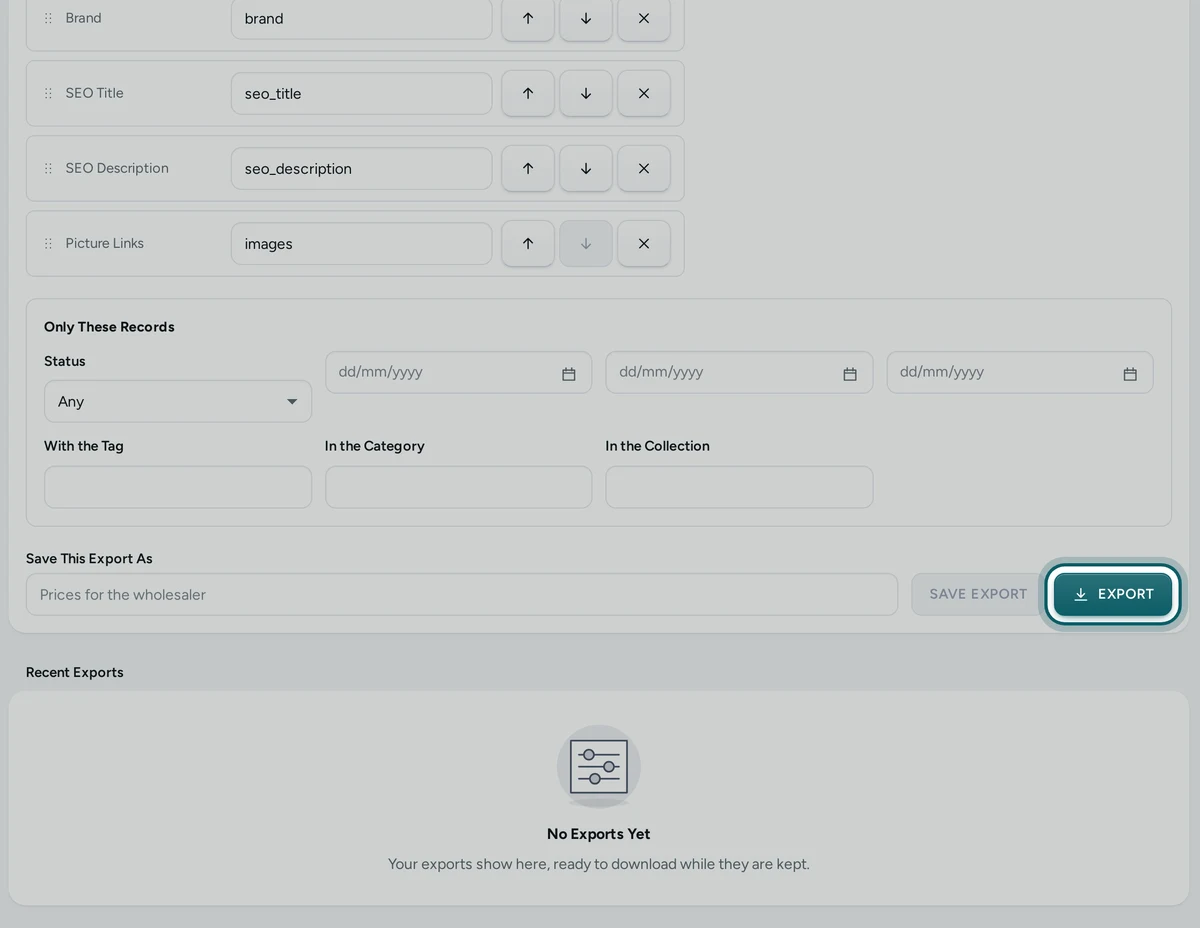
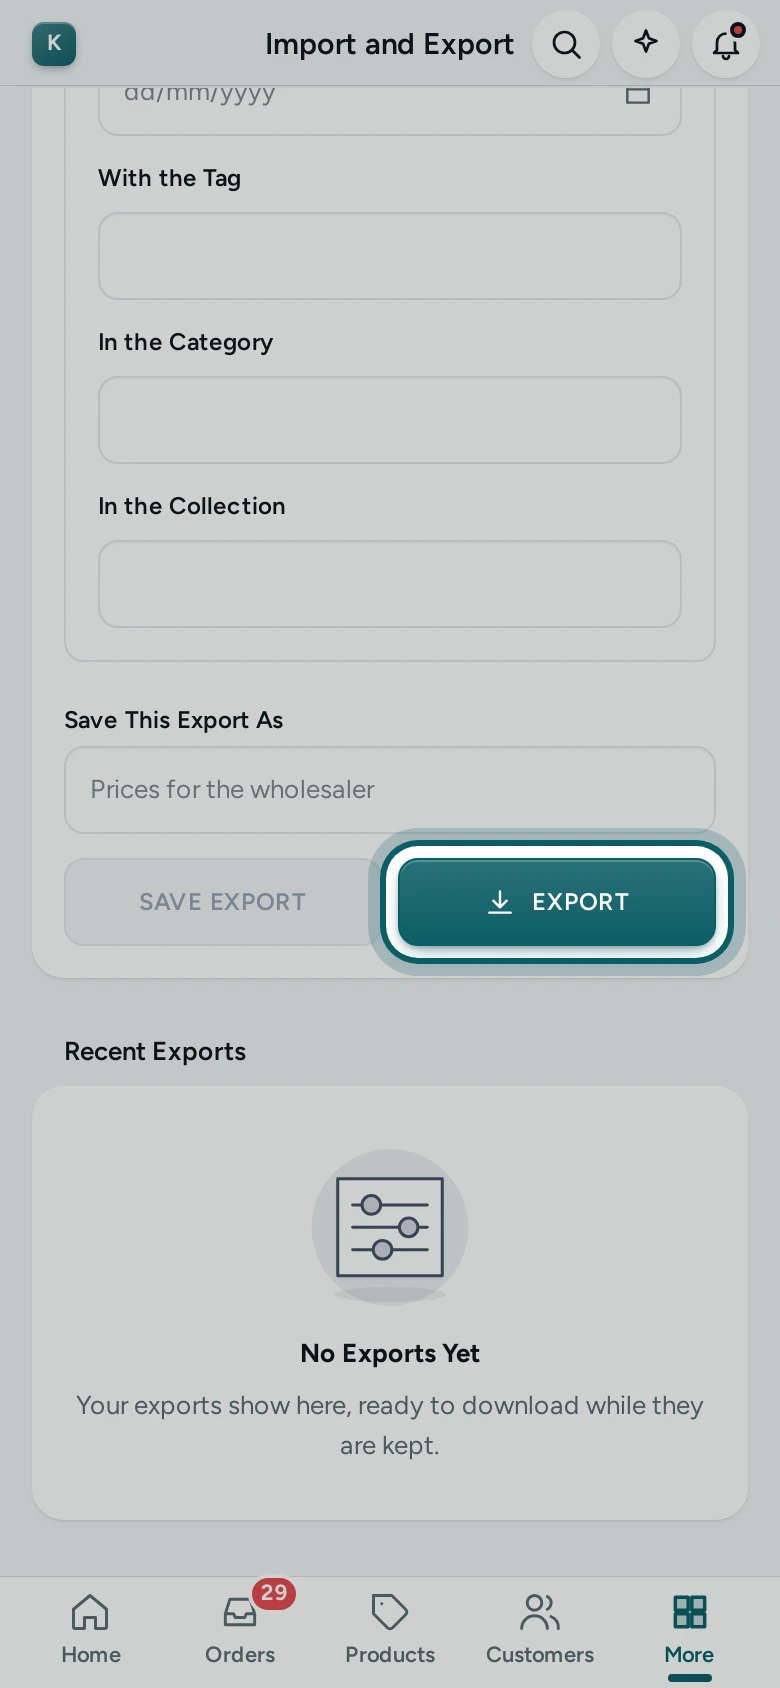
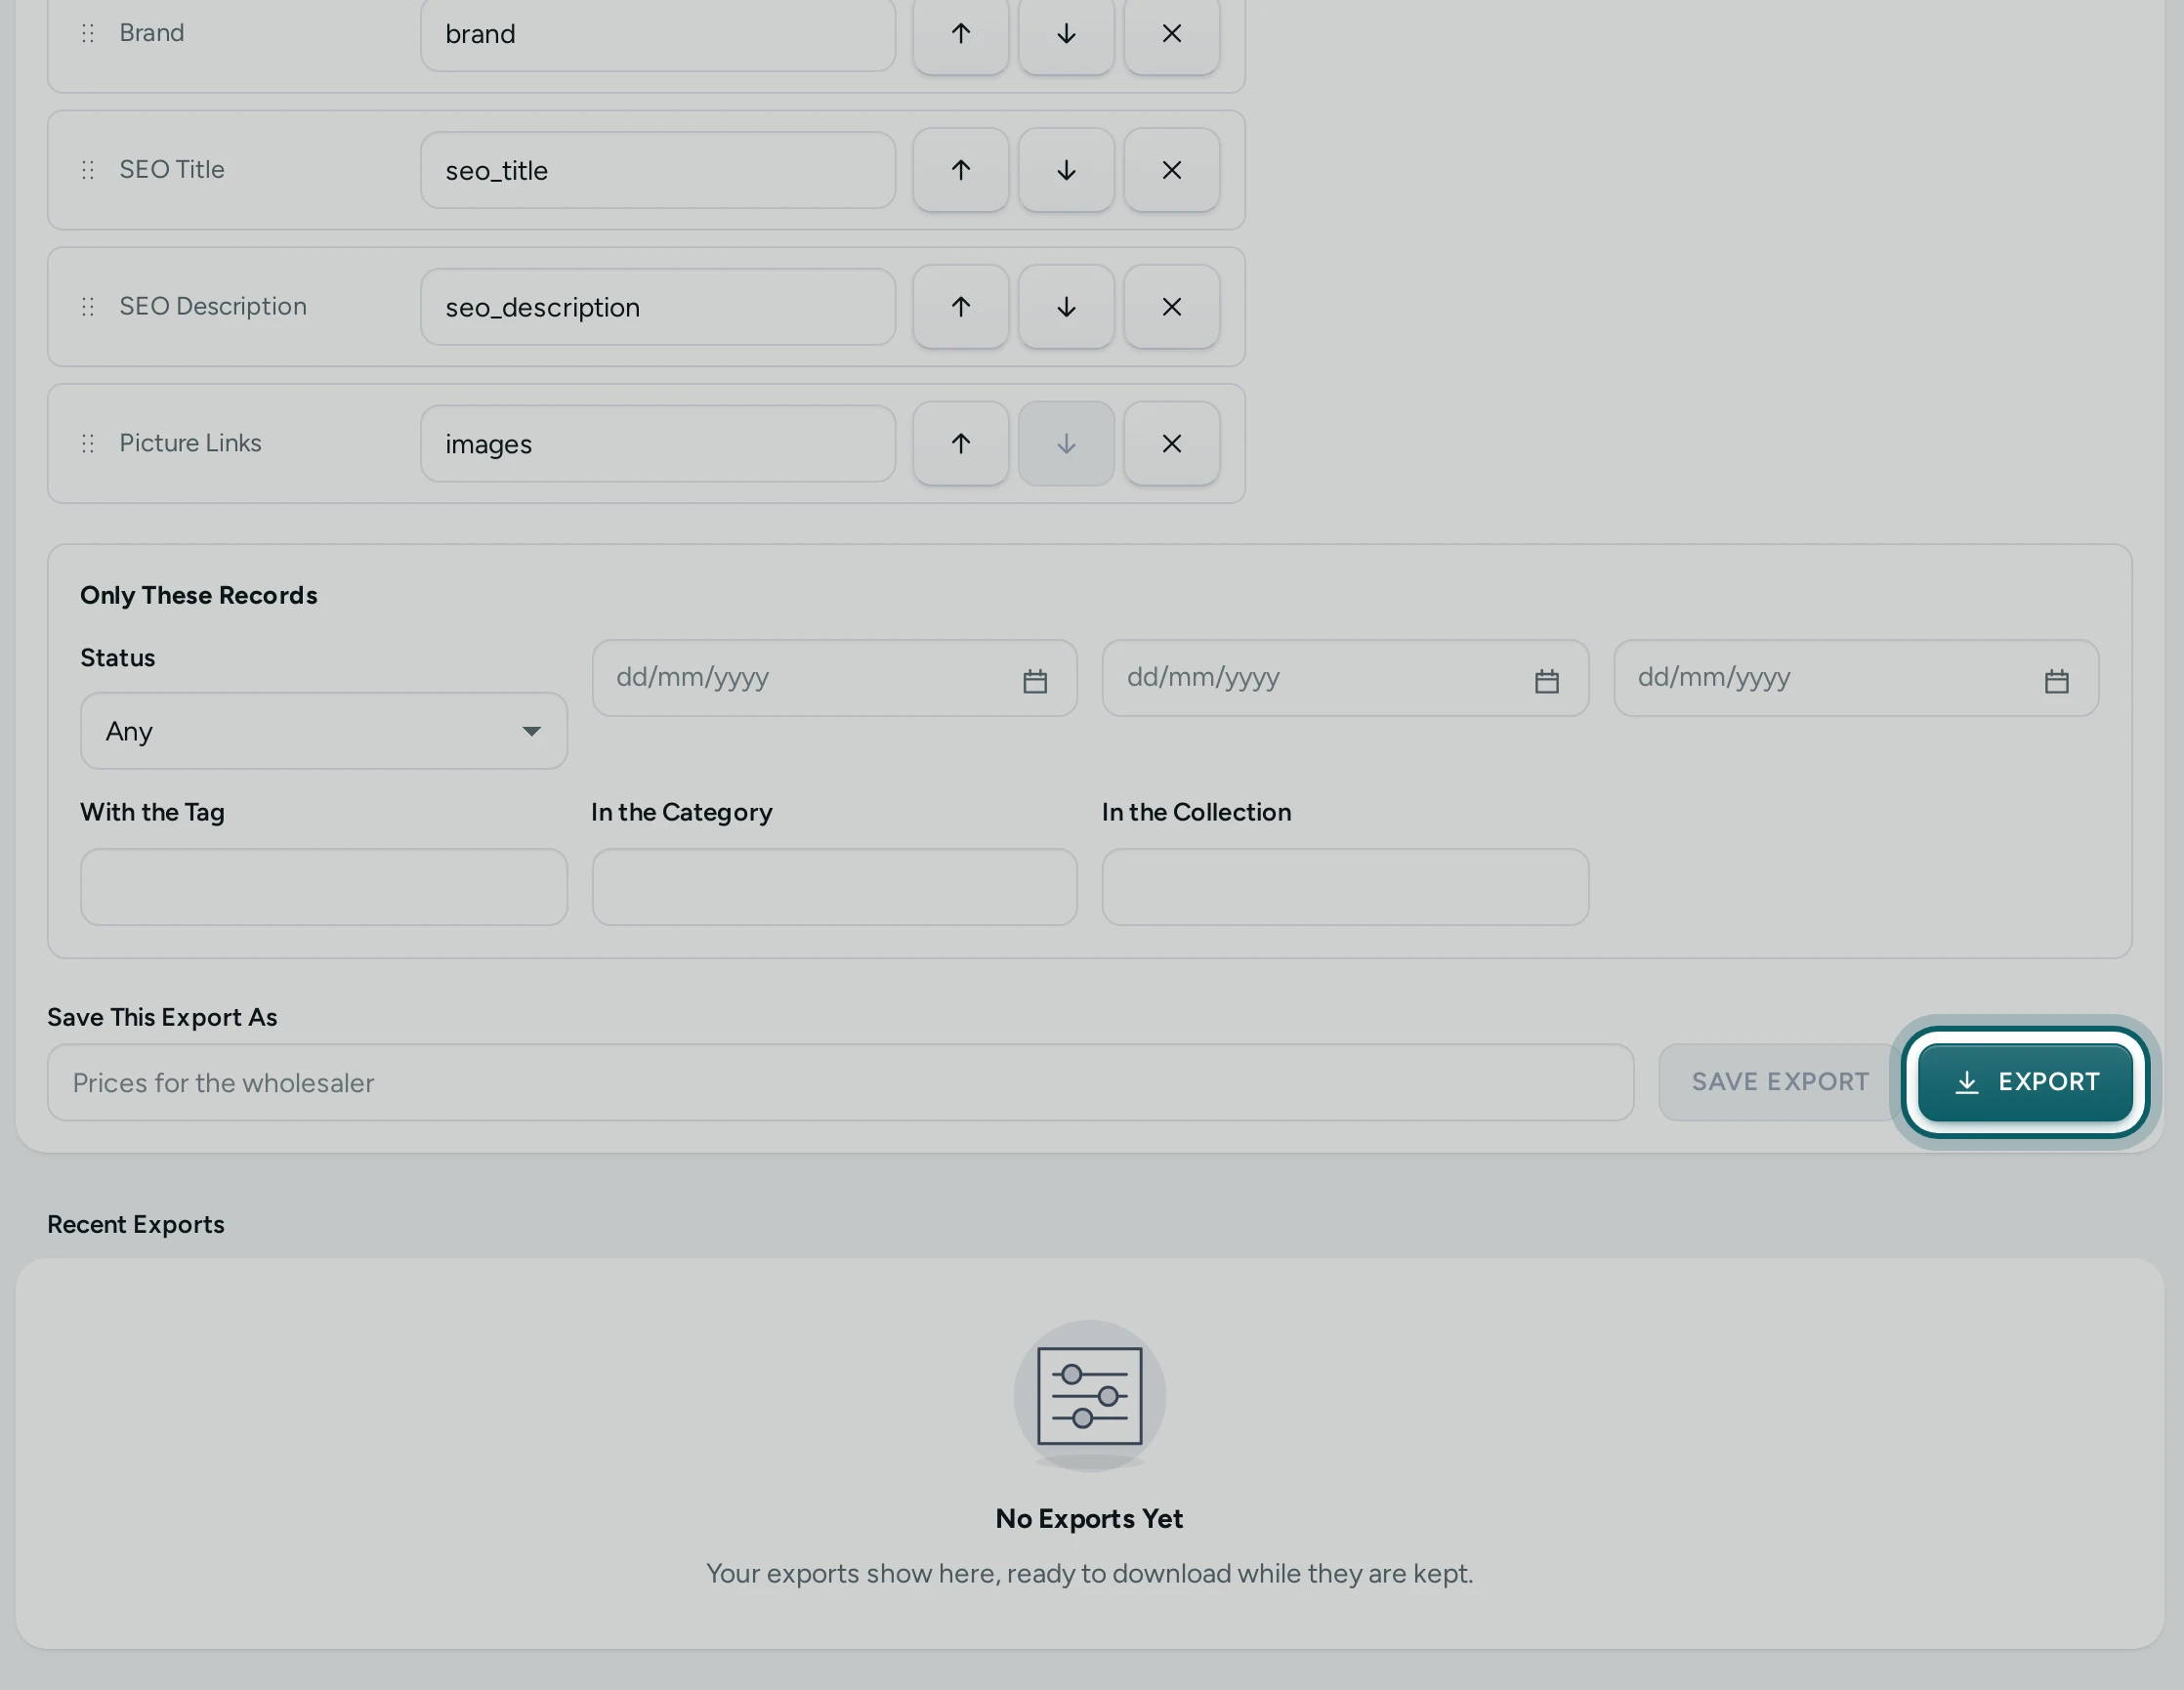
Export. Press EXPORT. The file is made in the background, and you can leave the page.
Step 3 of 3
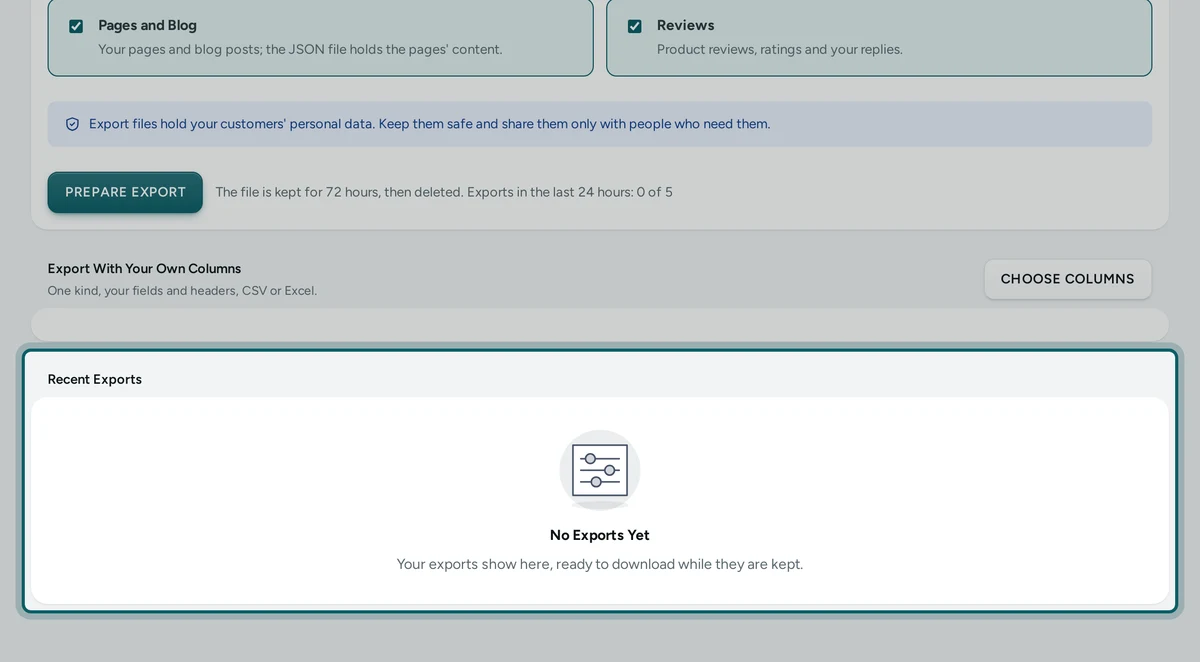
Download it. It shows under Recent Exports: press DOWNLOAD when it is Ready. It is kept as long as the store export's files (72 hours unless your store chose otherwise).
Bring It Back In
- Change it and import it again. Edit the file in your spreadsheet, then on the Import tab choose the same kind, Other / My Own Spreadsheet and the file. Mercayo offers the saved matching ("Your saved matching “Prices for the wholesaler (to import again)” fits this file."): press USE IT, then CHECK FILE and IMPORT. See Update Prices and Stock by SKU for a price change.
Questions
How is this different from PREPARE EXPORT?
PREPARE EXPORT gives everything you tick, every field, as one ZIP with a CSV and a JSON file each. Export With Your Own Columns gives one file of one kind, with only the fields, order, headers and records you chose.
Can I export orders with one row per item?
Yes. Choose Past Orders (your store's orders) and One row per order item: each item gets its row, with the order's columns beside it.
Is the export in the activity log?
Yes. Every export with chosen columns, and every saved or deleted export, is in the activity log.
Can it run every day by itself?
Not yet. An export is made when you press EXPORT; a saved export makes the next one a few taps away.